Invoices

Contents
Example
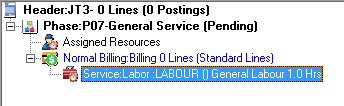
In this example, a simple Job has been entered with a General Labor charge and no Equipment.
Note:
If there are multiple Phases and/or Billing Groups, you must "hold" all Phases or Billing Groups not to be invoiced.
Click the Post icon on the toolbar.
![]()
The Post window will be displayed.
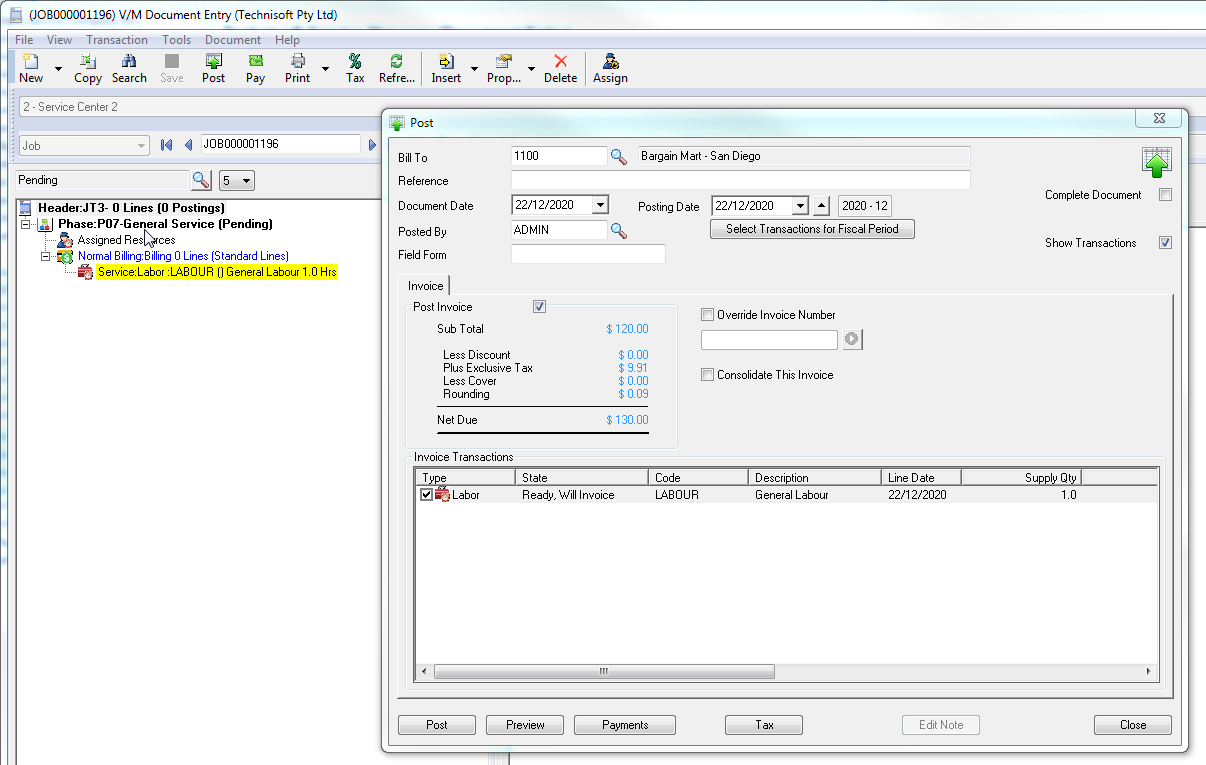
Before Posting and Invoicing:
•A Posting Date different to the Document Date is allowed so the item/services can be posted to a different period to the document if required.
•Click [Tax] to view and adjust the Tax Rates.
•Click [Curr. Rates] to view and adjust the Currency Rates.
Curr. Rates option will only be available if your company uses multicurrency accounting.
•Click [Payments] to view any receipts which have been applied to the document.
•Click [Preview] to verify that all the details are correct. The Print Invoices window will be displayed.
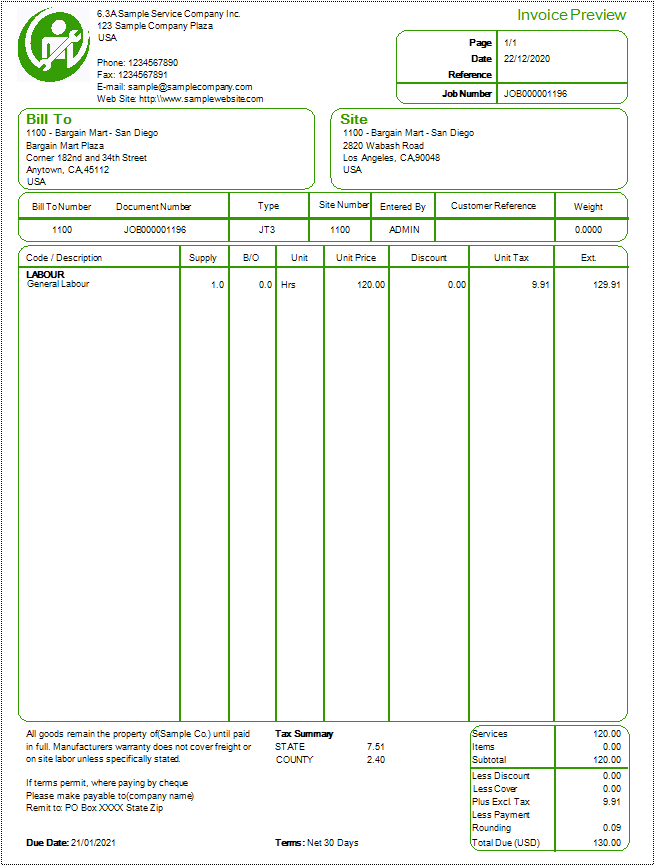
Preview the Invoice before Posting it
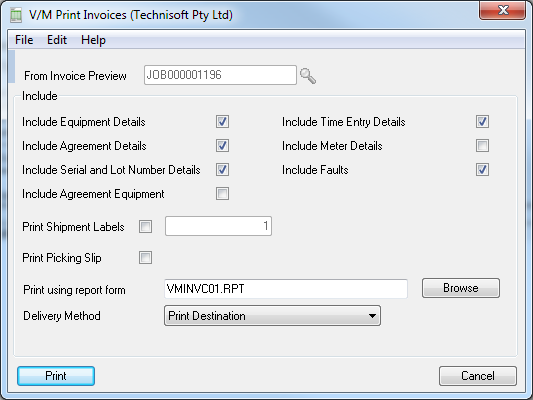
Tick the items to appear on the Invoice. Click [Print] to generate a Preview Invoice.
Note:
It is also possible to generate a Preview Invoice from the Document Entry Print menu. This enables users who do not have "Posting" security to be able to generate a Preview Invoice. The Print Invoices window will be displayed as shown above.

Post the Invoice
Once you are satisfied that all the details correct, click [Post] on the Post window. A Warning message will be displayed.
Click [Yes] to continue. A second Warning message will be displayed that shows the Invoice No. of the invoice generated.
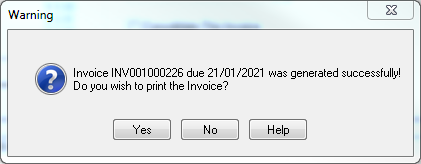
Click [Yes] to print the invoice. Click [No] if you have special batch processing requirements, invoice paper handling requirements, etc.