Time Entries
![]()
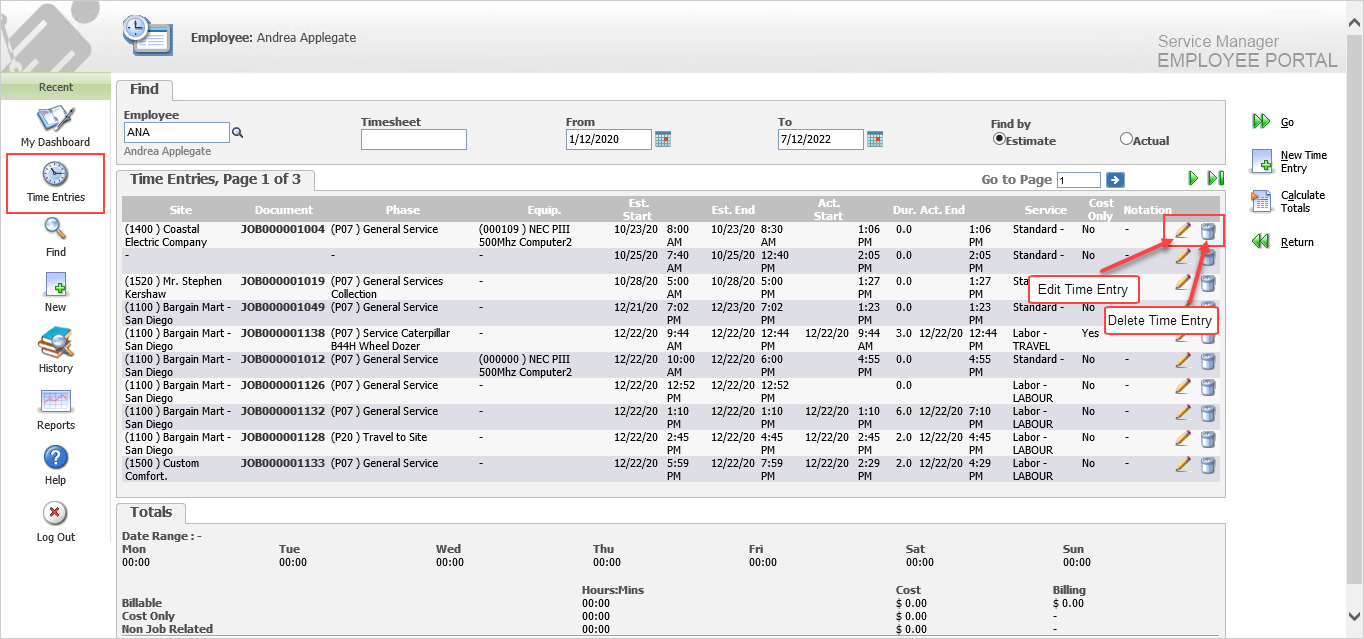
The Time Entries screen provides the ability to manage Employee Time Entries. Employees can create new Time Entries against Jobs they are Assigned to, display a filtered list of Time Entries and edit existing Time Entries.
The Time Entries screen can be accessed from the Main Menu or My Dashboard.

Finding Time Entries
![]()
You can search for Time Entries by Employee, Timesheet, Start Date (From) and End Date (To).

Enter the search criteria and then click Go. All the Time Entries that match the search criteria will be listed.
Creating a Time Entry
![]()
Click New Time Entry. The Insert Time Entry screen will be displayed.

Enter the Time Entry and then click Save.
Document and Service Code are the only mandatory fields.
After you select the relevant Document, the screen will refresh and all Phases on the Document will populate the Phase drop-down list. Select the Phase that the Time Entry applies to.
After you select the relevant Phase, the screen will refresh and all Equipment on that Phase will populate the Equipment drop-down list. Select the Equipment that the Time Entry applies to.
Select the Task which the Time Entry applies to.
Select the Service Type and Service Code categorizing the type of Service.
Time can be entered as a Start Date & Time and End Date & Time or as a Start Date & Time and a Duration. If you enter a Duration, the End Date & Time will be calculated. A part hour must be expressed as a decimal. For example, a Duration of 1 hour and 30 minutes must be entered as 1.50, not 1.30.
Enter a Timesheet reference and Notation if applicable.
Editing a Time Entry
![]()
Click the Edit Time Entry icon to the right of the Time Entry to edit. The Edit Time Entry screen will be displayed.

Change the Time Entry as required and then click Save.
Deleting a Time Entry
![]()
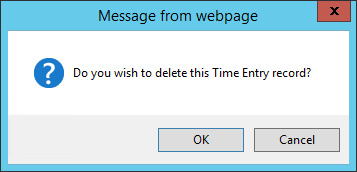
Click the Delete Time Entry icon to the right of the Time Entry to delete. A Confirmation message will be displayed.

Click [OK] to continue.
Recalculating Totals
![]()
The Totals that appear at the bottom of the screen are not updated automatically when you create, edit or delete time entries.

Click Calculate Totals to recalculate the totals for all the Time Entries shown.
