Synchronizing Time Entries to Microsoft Outlook

Contents
 »
» 
Overview
Synchronize Outlook allows you to transfer Service Manager data to Microsoft Outlook. This is an ideal way of informing your engineers of the Jobs that they have been assigned for the day or upcoming week, for example. Email messages, tasks and calendar appointments can be created in Microsoft Outlook with data sourced primarily from Service Manager time entries. A template is provided that allows you to customize the message sent to the Employee.
Starting the Synchronize Outlook Program
Click the Synchronize Outlook desktop icon.
The Synchronize Time Entries to Microsoft Outlook window will be displayed.

Selecting Time Entries to Transfer
Set the Email Mode, Include Time Entry As and Sync Range fields as required.
Email Mode
![]()
Include Time Entry As
![]()
Employee Name
All Active Employees will be listed. Select the Employee(s) to transfer Time Entries for.
Click Go ![]() .
.
All Time Entries for the Sync Range for the selected Employee(s) will be listed. Note that the results are cumulative.

Tick the entries to transfer to Outlook.
To clear the search results, click the Clear icon on the toolbar.
As with most Service Manager modules, it is possible to Include, Exclude and reorder columns. To do this, select Tools » Options.
Formatting the Message
Format the message as required before transferring it to Outlook. A full range of database fields can be added to the message.
Click the Layout icon ![]() on the toolbar. The Email / Task / Appointment Layout window will be displayed.
on the toolbar. The Email / Task / Appointment Layout window will be displayed.

Drag and drop fields from the right-hand pane.
The top portion of the field list contains field "groups". The bottom portion of the field list contains individual fields.
Field Groups
Field groups contain multiple fields and/or records.
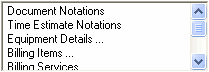
You can modify the content of the following field groups:
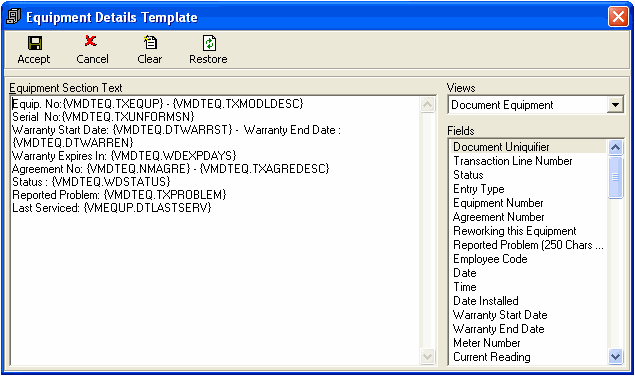
•Equipment Details
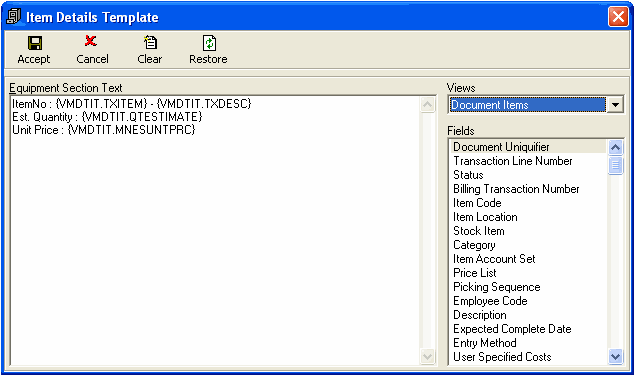
•Billing Items
•Billing Services
To do this, click the relevant toolbar icon - Equipment, Items or Services.
Equipment Details
Item Details
Service Details
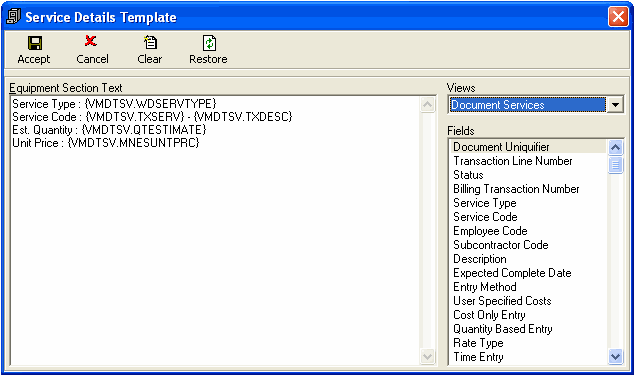
Individual Fields
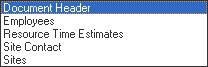
There are five categories of individual fields available. Click the drop-down list arrow ![]() to the right of Document Header and then select the required category.
to the right of Document Header and then select the required category.
Any field from any category can be included in the email message.
Once the fields and text are in place, click the Save icon ![]() on the toolbar to save this layout as a template to be reused as required.
on the toolbar to save this layout as a template to be reused as required.
Transferring the Messages to Outlook
Once you have selected the data you require and formatted the message, specify the type of synchronization required. The options are Email, Task or Appointment.
![]()
![]()
![]()
A Confirmation message will be displayed.
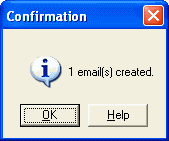
Click [OK] to continue.
This is the resulting email message as generated by the Synchronize Outlook program.
Task
A Warning message will be displayed.
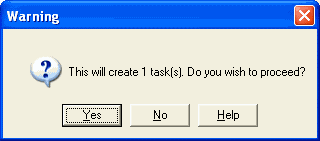
Click [Yes] to continue.
A Confirmation message will be displayed.
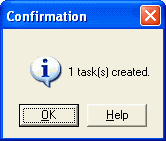
Click [OK] to continue.
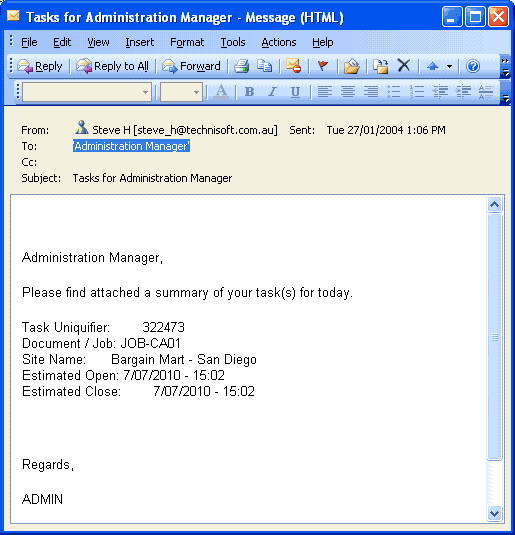
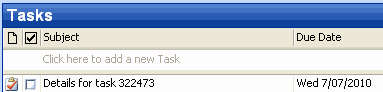
This is an extract from the Tasks that have been synchronized into an Outlook Tasks list.
Outlook Task View
This is the resulting task as viewed by double-clicking on the actual task from the list above.

Calendar Appointment
A Warning message will be displayed.
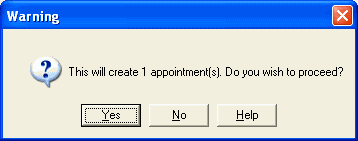
Click [Yes] to continue.
A Confirmation message will be displayed.
Click [OK] to continue.
This is the resulting entry in the Outlook Calendar as generated by the Synchronize Outlook program.

As can be seen from these examples, the Synchronize Outlook interface is quite efficient in transferring information and integrating with Microsoft Outlook.