Return Authorization

Contents
 »
»  »
» 
Overview
The Return Authorization form has many features and can be customized to suit individual requirements.
Each variation or customization of the form can be saved in the Settings section, allowing flexible and easy management of the RA reporting system.
Even though the form appears comprehensive, once configured it does not require additional input.
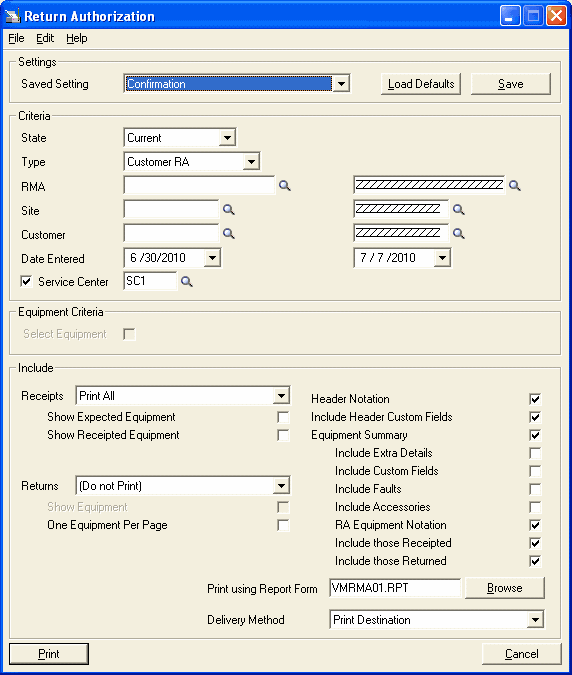
Criteria
Settings section
Saved Setting
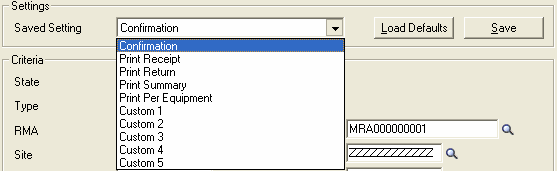
After the form has been customized to suit individual requirements, it is possible to save the configuration for future use. Use the drop-down menu, select an option and then click [Save] to overwrite the settings for that option.
It is possible to revert back to the default settings. To do this, click [Load Defaults]. After reverting back to defaults, click [Save] again to save the default setting.
Criteria section
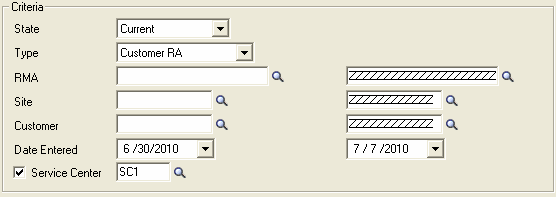
State - Choose the state of the return authorization to print from the drop-down:
•Current – Extract current RAs to report on
•Historic – Extract RAs from historical information to report on
Type - Choose the type of return authorization to print from the drop-down:
•Customer RA (Return Authorization)
•Vendor RA (Vendor/Manufacturer Return Authorization)
RMA - Enter the RA code or a range of RA codes to print. Use the Finder![]() to choose from the list of available RAs in the system.
to choose from the list of available RAs in the system.
Site - Enter the Site code or a range of Site codes to print. Use the Finder![]() to choose from the list of available Sites in the system.
to choose from the list of available Sites in the system.
Customer - Enter the "Bill To" Customer code to print or select a range of Customer codes to print. Use the Finder![]() to choose from the list of available Customers in the system.
to choose from the list of available Customers in the system.
Date Entered - Enter the "Date Entered" into this field, or specify a date range to search and report on.
Service Center - Enter the Service Center code or a range of Service Center Codes to print. Use the Finder![]() to choose from the list of available Service Centers in the system.
to choose from the list of available Service Centers in the system.
Equipment Criteria section

If there are multiple pieces of Equipment on a CRA or VRA, tick the Select Equipment check box and select the specific Equipment record from the drop-down list. By default, the Select Equipment check box is cleared - All Equipment records on the RAs will print.
Include section
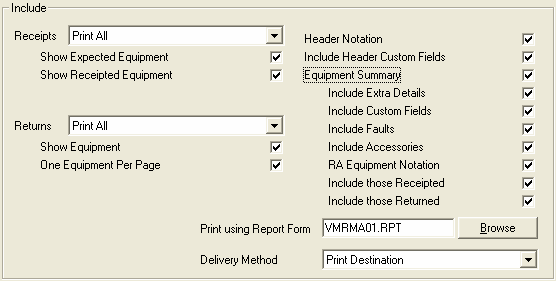
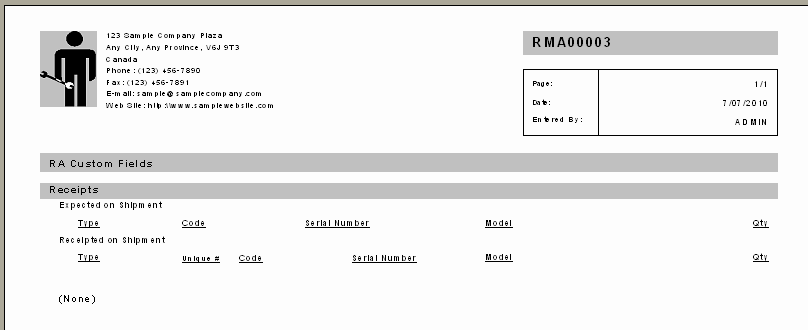
Receipts
•Print All – Print all Equipment. Alternatively, select Only Receipted Items from the drop-down list.
•Show Expected Equipment – Service Manager tracks equipment in transit. Use this feature to report on equipment on a RA that has the status set to "expected".
•Show Receipted Equipment – Service Manager tracks equipment arrivals. Use this feature to report on equipment on RA that has been "receipted".
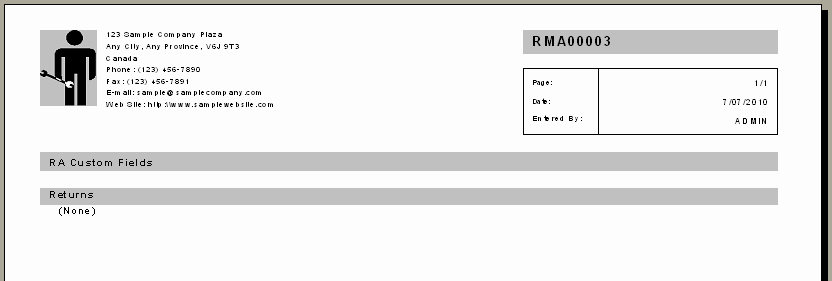
Returns
•Print All – Print all Equipment. Alternatively, select Only Returned Items from the drop-down list to only include items in the RA system that have been returned or dispatched back to the source.
•Show Equipment – Tick this check box to include all the Equipment records on the RA that have been returned.
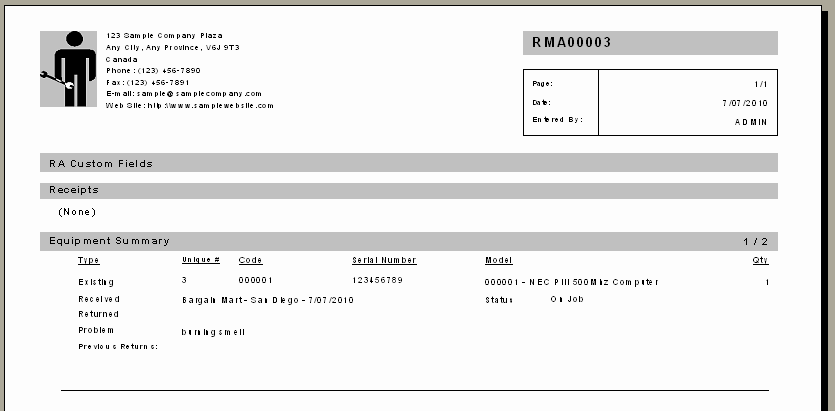
•One Equipment Per Page – Will print one Equipment item per page.
Header Notation - Tick this check box to include any associated Header Notations on the RA. This is stored at the highest level of the tree – the header.
Include Header Custom Fields - Tick this check box to include any Custom Fields associated with the RA.
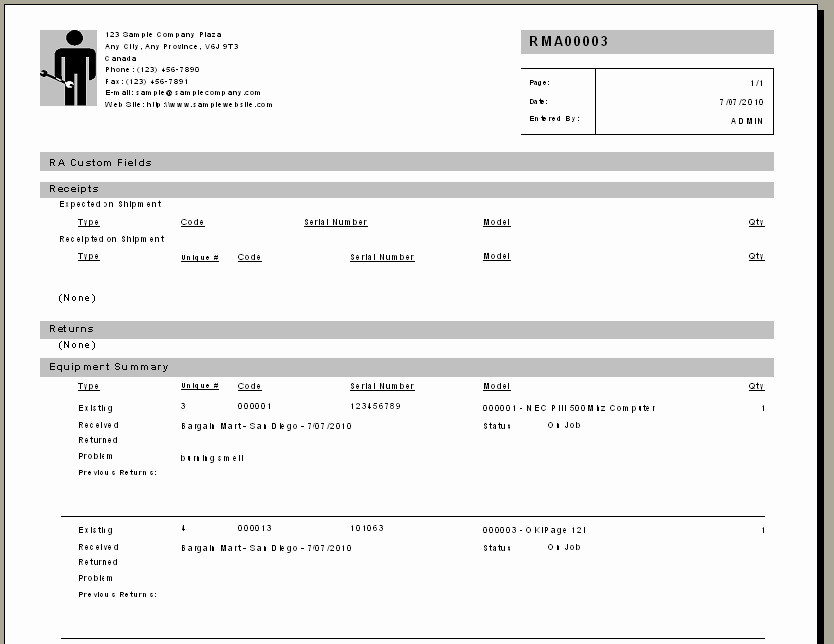
Equipment Summary
Include Extra Details - Tick this check box to include extra details associated with the RA comprised of Received, Returned, Problem and Previous returns.
Include Custom Fields - Tick this check box to include any Custom Fields associated with the RA.
Include Faults - Equipment on an RA, contains Fault information. Tick this check box to include these faults as recorded on the record.
Include Accessories - The RA system within Service Manager can store accessories associated with a piece of equipment. Tick this check box to include any accessories associated with an Equipment record on RA.
RA Equipment Notation - The RA system within Service Manager can store notations on equipment records. Tick this check box to include any Notations associated with an equipment record on RA.
Include those Receipted - Tick this check box to include only Equipment that has been receipted.
Include those Returned - Tick this check box to include only Equipment that has been returned.
Print using report form - Enter the name of the report specification to be used for printing this report, or use the browse feature to locate another specification.
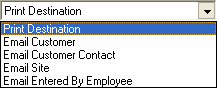
Delivery Method - Use the drop-down menu to choose the delivery method for the report. The report can be sent to a printer or emailed directly to the Customer, Customer Contact, Site or the "Entered By" Employee.
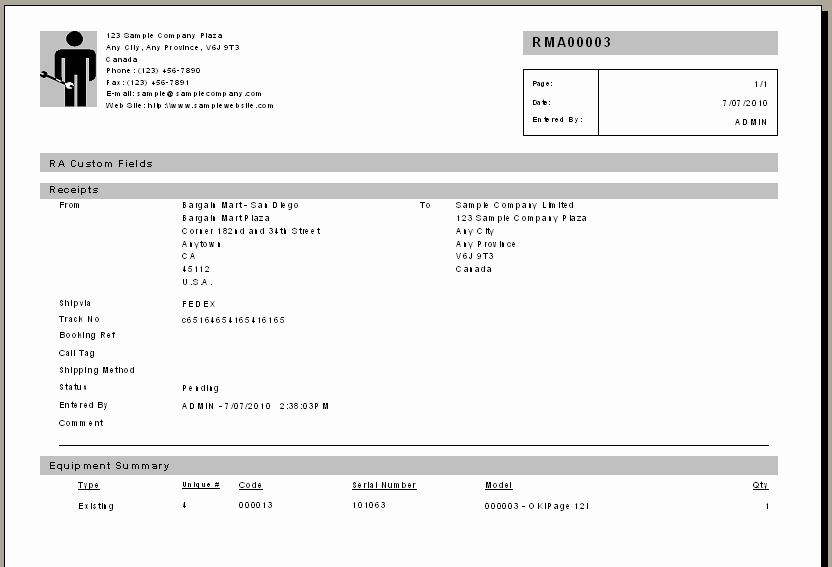
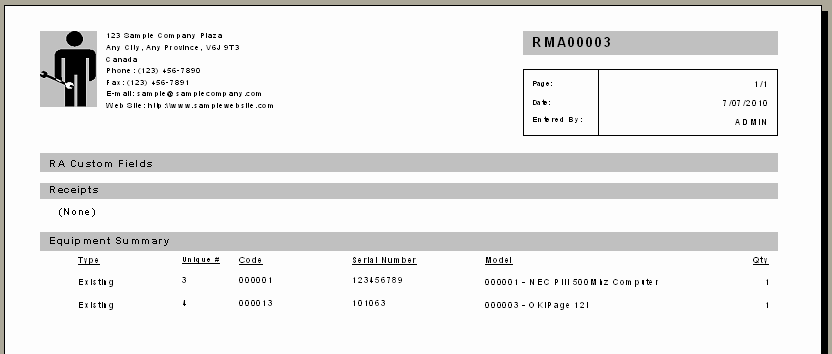
Report Samples
Confirmation
Print Receipt
Print Return
Print Summary
Print Per-Equipment
Print ALL options selected