Assigning Resources
In Document Entry, click the Assign icon ![]() on the toolbar. The Assign Resources window will be displayed. This is a floating window that can be moved around the Document Entry window. It will remain on top of the Document Entry window and can be closed at any time.
on the toolbar. The Assign Resources window will be displayed. This is a floating window that can be moved around the Document Entry window. It will remain on top of the Document Entry window and can be closed at any time.
The Assign Resources window has five tabs:
•Active Employees
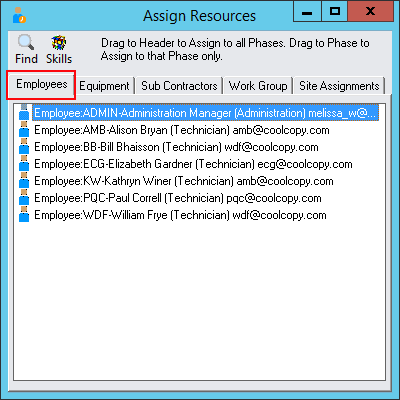
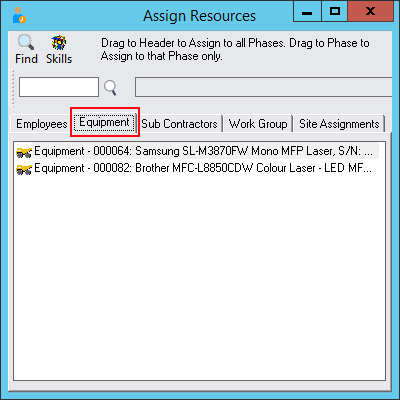
•Internal Equipment
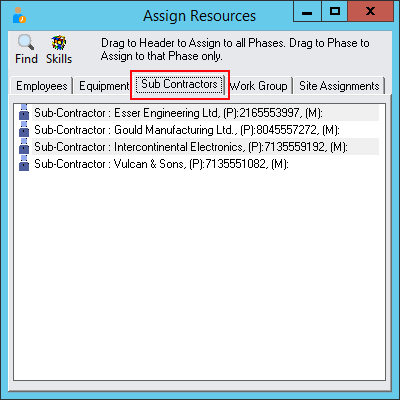
•Sub Contractors
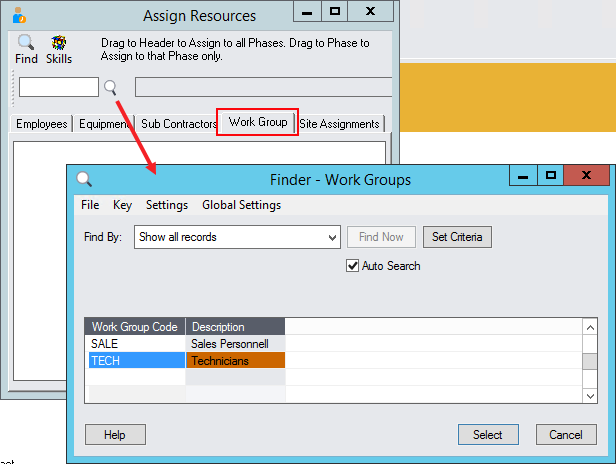
•Work Group
Click the Finder to load the members of the relevant Work Group
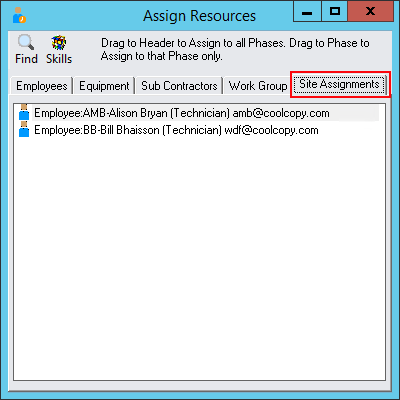
•Site Assignments
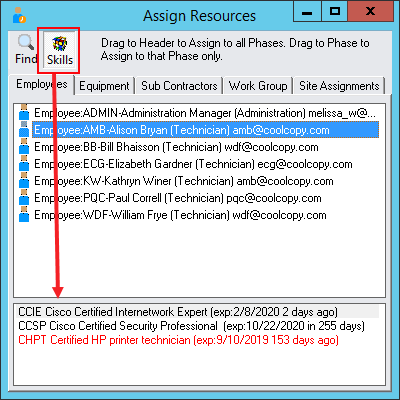
Display Skills Window
Toggle the Skills button on or off to display or hide the Skills for the highlighted Resource
Assigning Resources
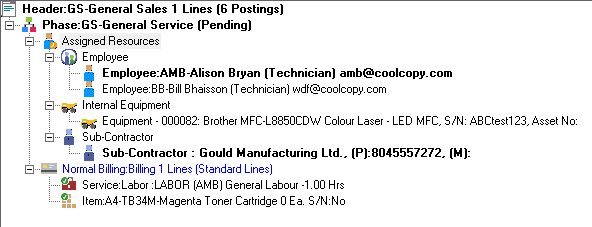
Select the Resource(s) to assign to the Job by clicking on them and dragging to the Document Tree.
To assign the Resource(s) to all Phases, drag and drop the Resource(s) on the Document Header. To assign the Resource(s) to a single Phase, drag and drop the Resource(s) on the applicable Phase.
Assigned Resources will appear in the Assigned Resources node of the Phase, categorized by Resource Type.
Clicking on a Resource in the tree will bold the Resource line and this Resource will be used as the Default resource for that Phase. It is possible to have a different default resource for different phases. The default is used when entering services or items to a Billing Group as well as when entering a time entry.
Note: If you create a Time Entry for a Resource that is not yet assigned to the current Phase, that Resource will be assigned to that Phase.
Finding Available Resources
The Find Next Available function allows you to find, for example, Employees with certain skill sets, allocated to certain zones and even by next available time slot.
Click the Find icon ![]() in the Assign Resources Window. The Find Next Available Time Slot window will be displayed.
in the Assign Resources Window. The Find Next Available Time Slot window will be displayed.
Employee Find
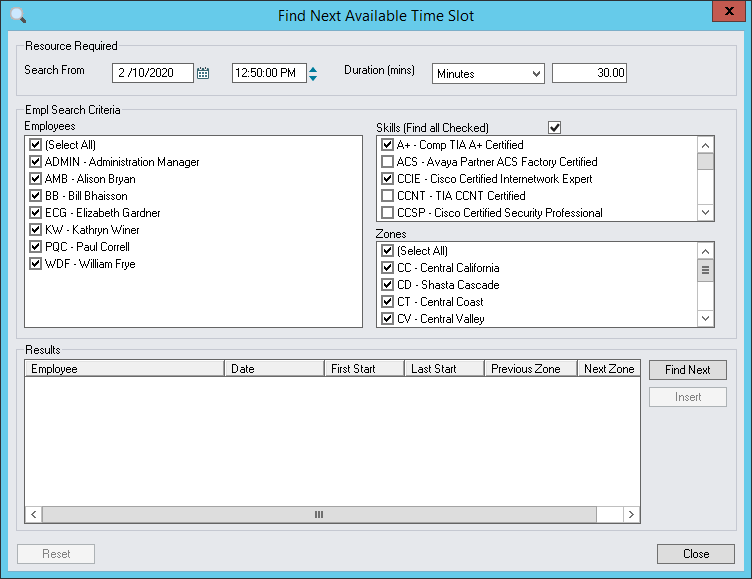
Specify a Date, Time and Duration that the Employee is required.
Select the Skill Set(s), Zone(s) and Employee(s) to include in the search.
Click [Find Next]. The next available Employee(s) that match the Search Criteria will be displayed in the Results list.
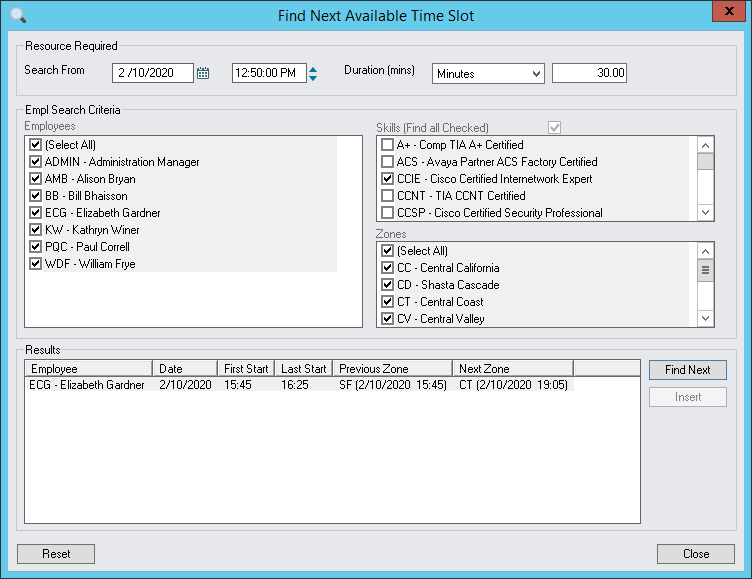
Equipment Find
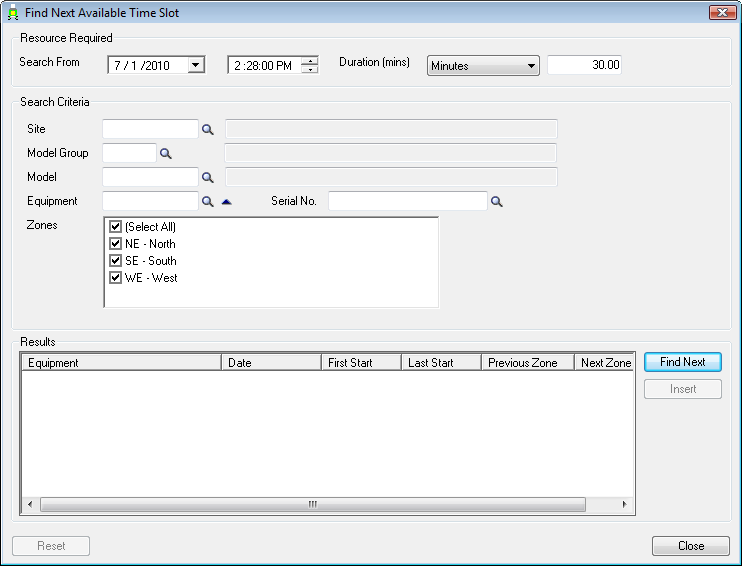
Specify a Date, Time and Duration that the Equipment is required.
Select the Site, Model Group, Model, Equipment, Serial Number and Zone(s) to include in the search.
Click [Find Next]. The next available Equipment that matches the Search Criteria will be displayed in the Results list.
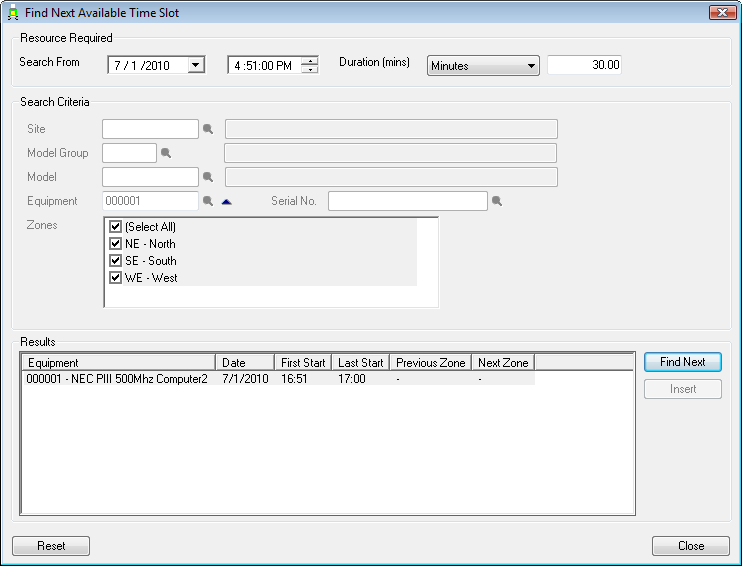
Subcontractor Find
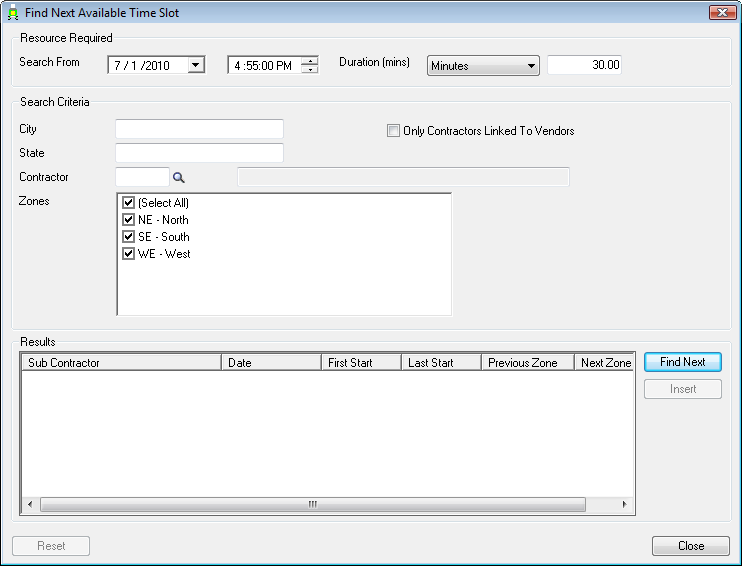
Specify a Date, Time and Duration that the Subcontractor is required.
Select the City, State, Contractor and Zone(s) to include in the search.
Tick the Only Contractors Linked To Vendors check box to include only Subcontractors that are linked to a Vendor Site.
Click [Find Next]. The next available Subcontractor that matches the Search Criteria will be displayed in the Results list.
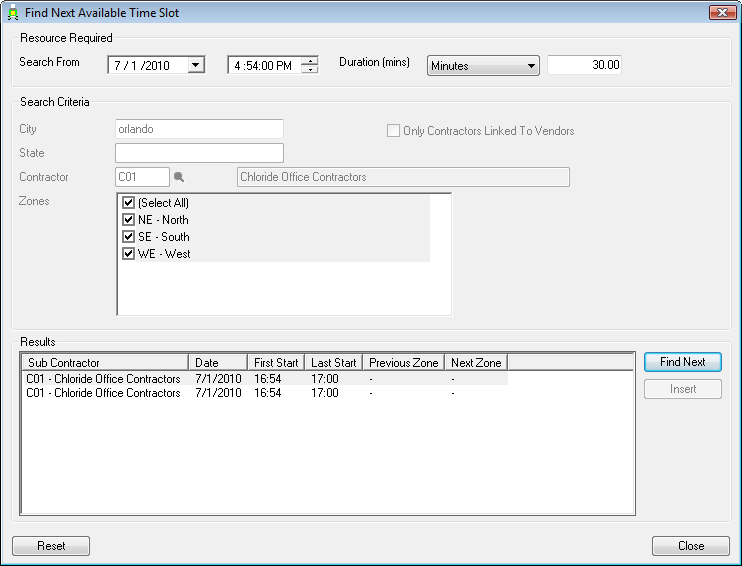
Scheduling Resources from Find
To schedule a Resource that is shown in the Results list, you must insert a Time Entry for the Resource. To do this, select the Resource and then click [Insert].

The Insert Time Entry window will be displayed.
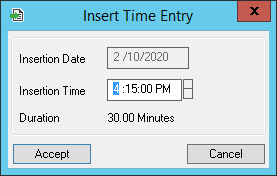
Enter the Insertion Time and then click [Accept].
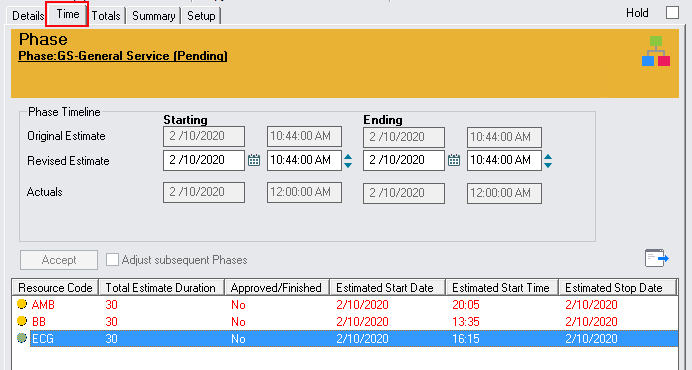
The Time Entry may be viewed in the Document Entry Time tab.
