Sales

Contents
 »
»  » Sale
Service Manager provides a quick and easy method to sell Services and Items without having to create a Job.
Creating a Sales Document
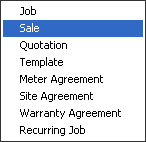
To create a Sale Document, click the drop-down list arrow ![]() to the right of the
to the right of the ![]() icon and then select Sale.
icon and then select Sale.
Alternatively, Select Document Type Sale, Click New ![]() and then click Go
and then click Go ![]() .
.
The Header window will be displayed.
Header
The Header information for a Sale Document differs from the standard Job Header in a number of ways.
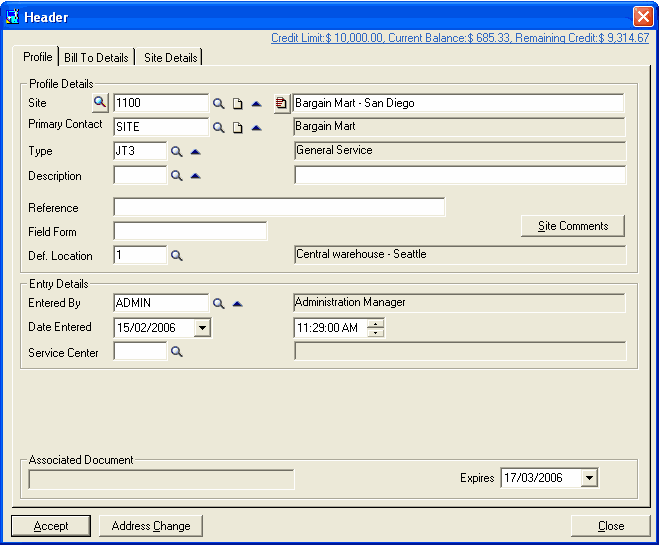
There are no Agreement details displayed at all as Sales would not be covered under any agreement types.
The VIP pop-up messages are still displayed, but only as an information source.
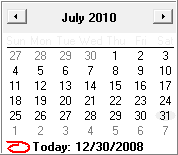
The expiry date of the Sales document is listed in the lower right hand corner of the screen.
![]()
You can overwrite the expiry date by typing in the required date or selecting it using the calendar. (Click the drop-down arrow ![]() to the right of the date to display the calendar.)
to the right of the date to display the calendar.)
Click [Accept]. The Billing Options window will be displayed.
Default Expiry Date for Quotations and Sales Orders
A global default expiry date can be set up for Quotations and Sales orders. Refer Company Options » Defaults tab.
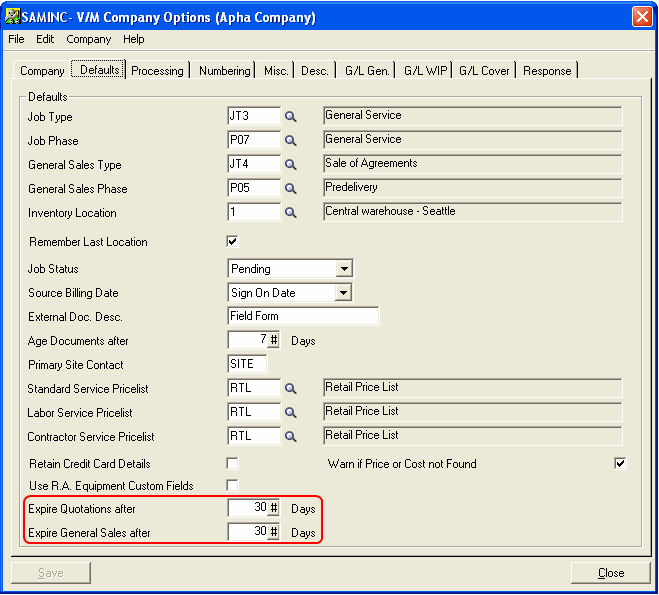
When creating a new quotation or sales order, the expiry date in the header of that document will be automatically set to the date specified in Expire Quotations after and Expire General Sales after.
Billing Options
The Billing Options for a Sales Document differ from the Billing Options for a Job. There are no budgets or Response Tracking associated with a sale. Commissions can still be tracked for commission splitting and sales analysis tools.
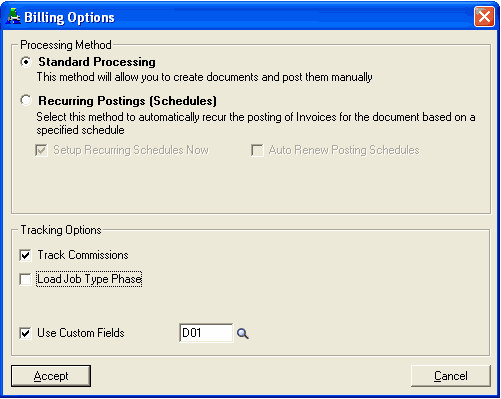
Click [Accept].
Phase
If you clear the Load Job Type Phase check box in the Billing Options window, you will need to enter the Phase information for the Sale.

Enter or select the Phase and enter employee Commission Split information. Click [Accept]. The Sales Document will now be displayed in the document tree.
Document Tree
![]()
Billing Group
Insert a Billing Group using the Insert Billing Group Line ![]() fast icon.
fast icon.
Services and Inventory Items
Enter Services and Items as required using the Insert Service Line ![]() and Insert Item Line
and Insert Item Line ![]() fast icons.
fast icons.
Note:
Equipment cannot be entered into a Sales document.
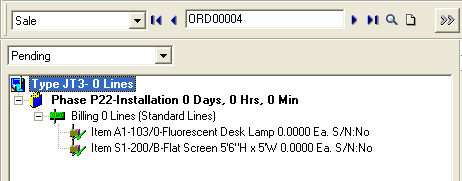
As an exercise, add two items into the Billing Group and view the tree as follows.
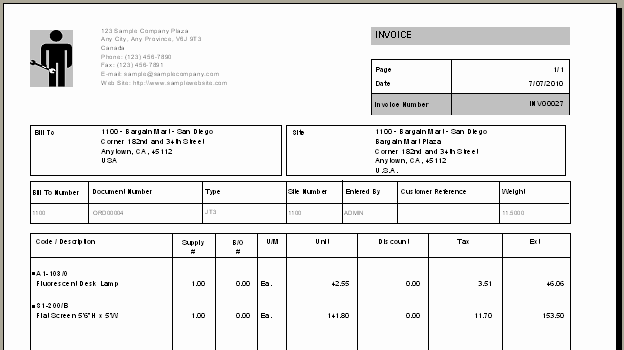
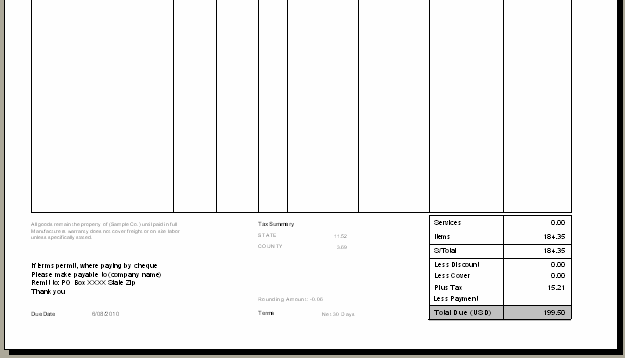
The screen below shows the Billing Group with two Item lines and the totals information for the sales document.

Posting and Invoicing the Sales Document
Click the Post icon on the toolbar. The Post window will be displayed.
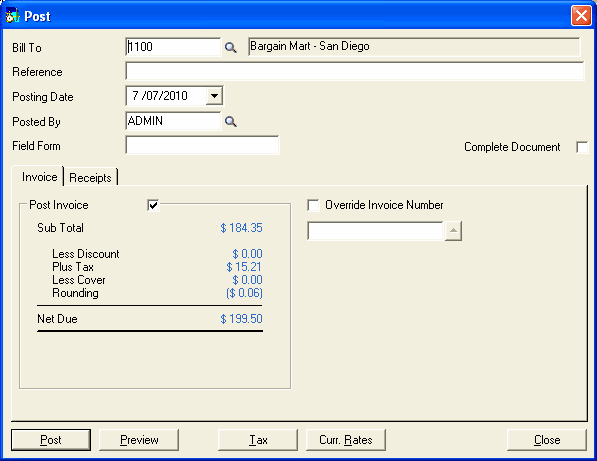
Click [Post] to post the sales document and create the invoice. A message will be displayed giving you the option to print the invoice. (Several other messages may be displayed before this.)
Printing the Invoice
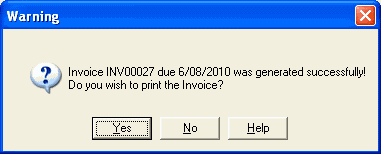
Click [Yes] to print the invoice.
Notice the green tick on the items just invoiced.