Invoice

Contents
There are three Invoicing related checkboxes in the Field Portal Configuration Tool which need to be selected to enable the invoicing, payments and A/R receipt features.
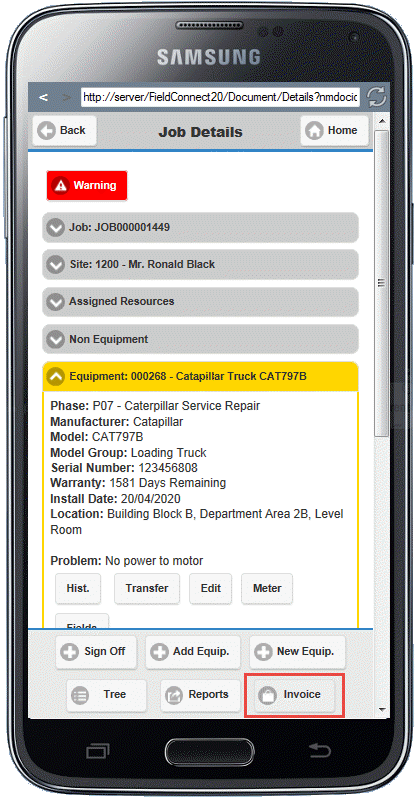
The Post Invoice screen can be accessed by clicking the Invoice button from the Job Details screen footer or within the Document Tree.
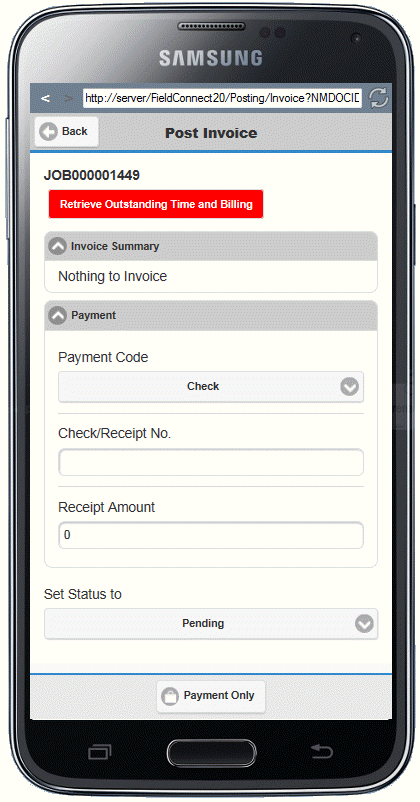
When the Retrieve Outstanding Time and Billing button is red there are time Actuals or billing lines to be retrieved. Once this has been done the Post Invoice screen populates with invoice information.
There are three toggle sections within the Post Invoice Screen:
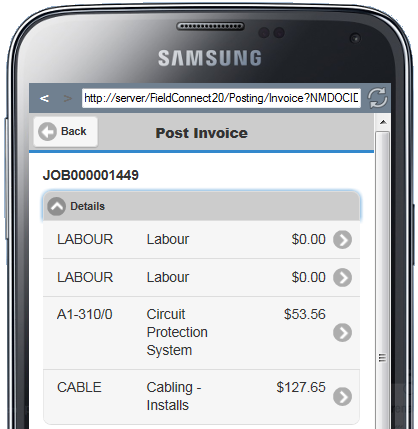
•Details - Displays the Items and Services included on the Job and the totals being included on the invoice. If lines are covered under an agreement or discounted the covered/discounted amounts will not show in the details section.
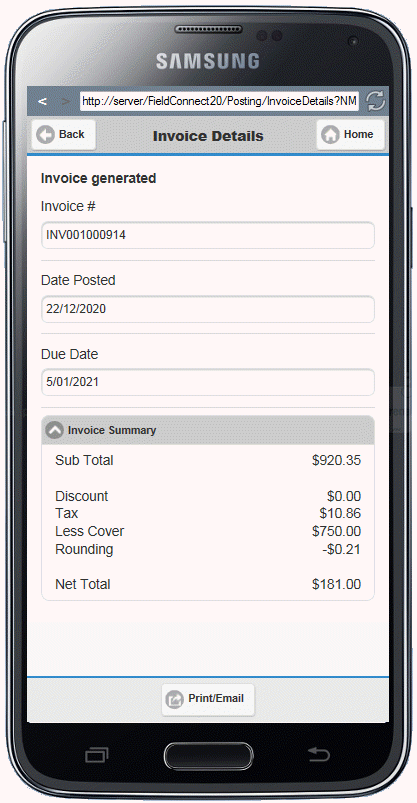
•Invoice Summary - Shows the Sub Total of all lines prior to any cover or discounts applicable, breakdown of amounts and a Net Total to be invoiced to the customer.

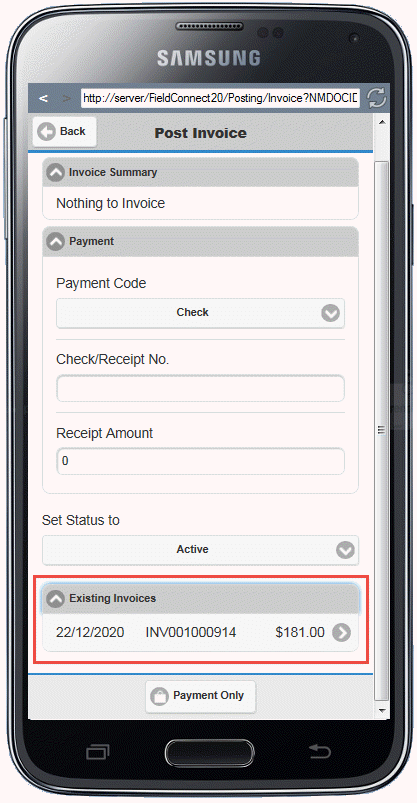
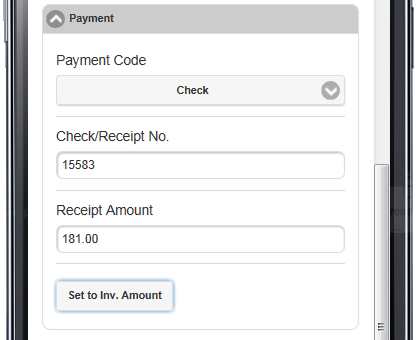
•Payment - The Payment Code, Receipt Number, and Receipt Amount can be entered. Please note that multicurrency is not supported in Field Portal Payments. The Set to Inv. Amount button will pre-fill the Receipt Amount field with the Net Total figure.
•Reference - This field will be pre-filled with the Job Header reference but can be overwritten if necessary.
•Set Status to - Modify the Job status if desired
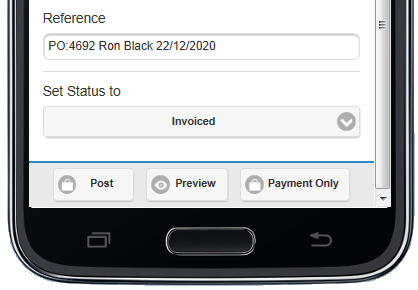
Once the Post Invoice screen has been completed the buttons on the footer allow the user to:
•Preview the invoice prior to posting
•Payment Only - Apply pre-payment to the job.
•Post - Post the Invoice. The Invoice Details screen appears and you can Print or Email the invoice.
After posting an invoice you can view existing invoices on the Job by selecting the Invoice button from the Job Details screen.