Procedure
To install Service Manager Advanced Scheduling Add-On the following steps must be performed.
1.Remove any existing version of Advanced Scheduling using the Windows Control Panel. (Only applicable if Advanced Scheduling has been previously installed)
2.Run the AdvSchedulingInstall.msi installer and follow all on-screen instructions.
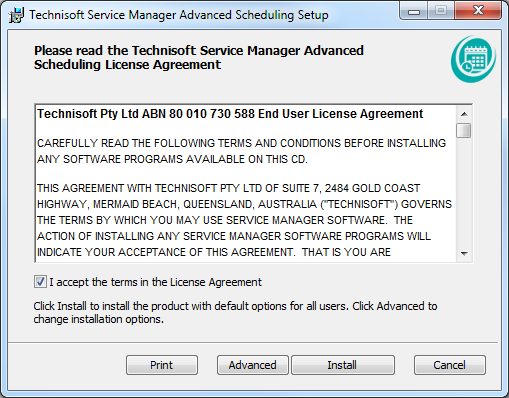
Note: Selecting Install on the welcome screen installs into the C:\Program Files\Technisoft\Advanced Scheduling folder by default (recommended). Selecting Advanced on the setup screen runs through the Destination Folder and Product Features screens where the User can customize the installation settings.

Advanced Scheduling Installer Welcome Screen
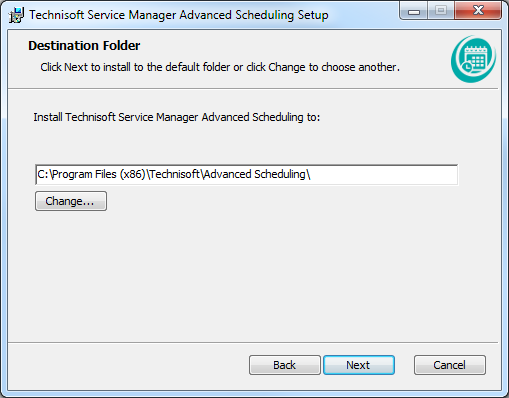
Destination Folder: Under no circumstances should the Advanced Scheduling folder be installed in the same folder, or in a sub folder, of the Sage installation folder. If you install Advanced Scheduling into any folder other than the default folder then you will need to carry out the steps described in the Workstation Setup section of this installation guide.

Advanced Scheduling Advanced Settings
