Task Manager

Contents
 »
» 
Overview
The Task Manager allows managers to quickly review, update or query Tasks and allows employees to complete Tasks without the requirement of entering a Job, if security is an issue.
Queries can be saved and grouped into logical groups. This provides quick access to frequently used queries.
Related Topics
Starting the Task Manager Program
Click the Task Manager desktop icon.
The Task Manager window will be displayed.
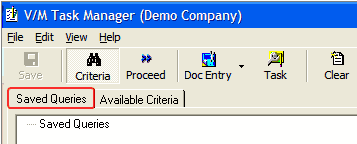
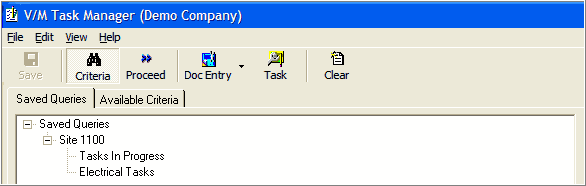
Note that the Task Manager window has two tabs - Saved Queries and Available Criteria. The general idea is to create a query in the Available Criteria tab and then save it into a Query Group. The query can then be run at any time from the Saved Queries tab, which is shown by default when you click the Task Manager desktop icon. The example below shows two saved queries in a Query Group named Site 1100.
Creating a Query
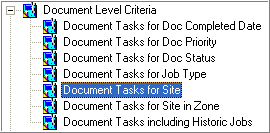
Click the Available Criteria tab. The available query criteria will be displayed.

Build the query
As an example, we will build a query that displays all Tasks for Site 1100 that have a Task Status of In Progress.
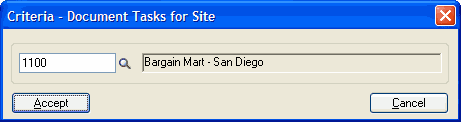
Double-click Document Tasks for Site. Alternatively, highlight Document Tasks for Site and then click [Include].
Select Site 1100 and then click [Accept].
Note that the query will show in the right-hand pane of the Task Manager window while it is being built.

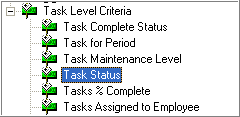
Double-click Task Status. Alternatively, highlight Task Status and then click [Include].
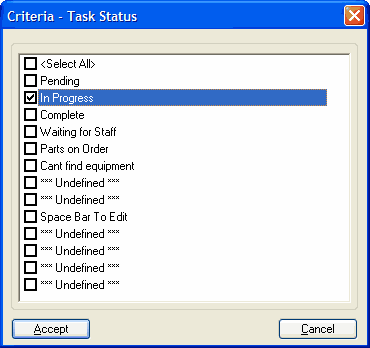
Select Task Status In Progress and then click [Accept].
Note again how the query is being built.

Run the query
Run the query to test it.
Click the Proceed toolbar icon to run the query.
![]()
The query results will be displayed in the Results pane at the bottom of the window.

The Results pane is flexible and customizable. To change the columns that are displayed and their order (left to right), select View » Options.
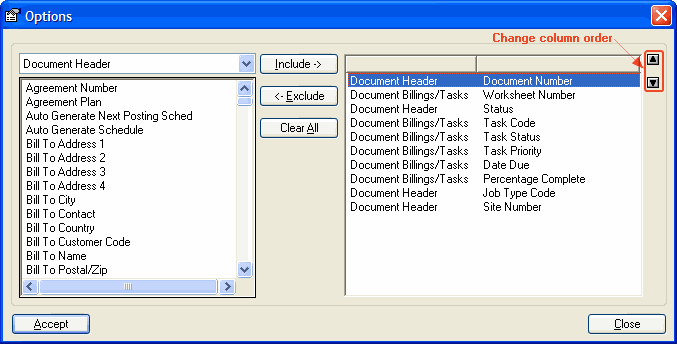
Include or Exclude columns as required and change their order (left to right) using the up and down arrows ![]() .
.
The result list can be sorted in ascending or descending sequence using any column as a Sort By field. Initially, the results will be listed by Document Number in ascending sequence.
Click the column header of the column to sort the results by. Click it again to change the sequence. The blue arrow to the left of the column name indicates the sort sequence.
![]() - ascending sequence
- ascending sequence
![]() - descending sequence
- descending sequence
Note:
This flexibility of column display exists throughout Service Manager although it may not always be stated.
Print or Export the results
Select the File Menu and select Export to Excel to open the Save As window to save the results as a Microsoft Excel file type.
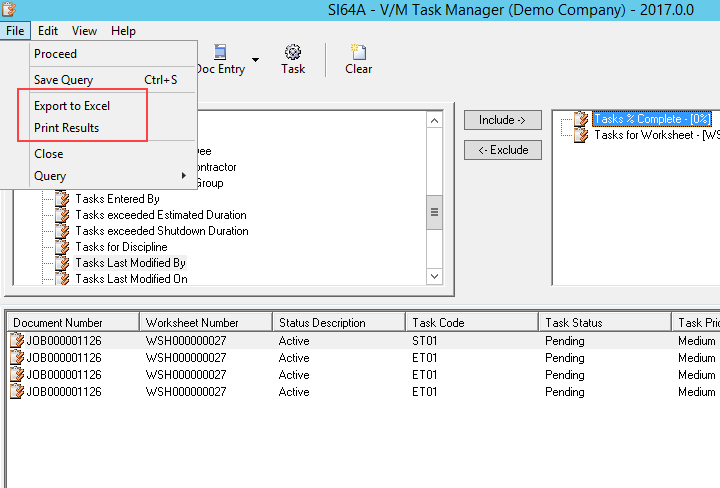
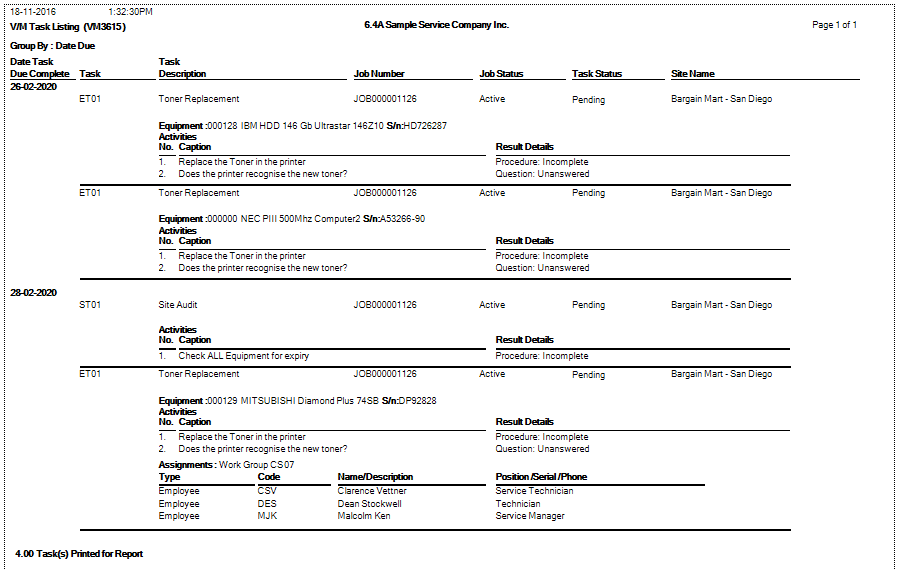
Select Print Results to open the Report Settings

The report can be grouped into:
•No Grouping
•Date Due
•Job
•Site
•Task
•Worksheet
Print in Summary or detail format can be selected to include Task details, activities and/or assignments.
Select Print to generate the report.
Save the query
Click the Save toolbar icon to save the query.
![]()
The Save Query dialog will be displayed.
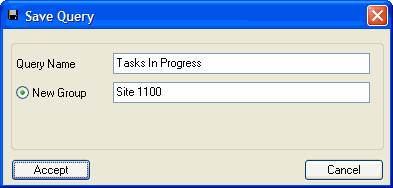
Type a Query Name and Query Group Name and then click [Accept].
Note:
Duplicate Query Names are not allowed.
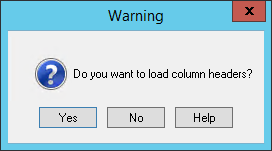
A Warning message will be displayed.
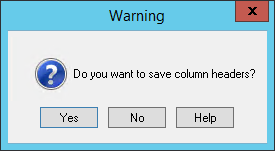
Click [Yes] to save the current state of the column headers (including column width). When you run the query, you can either load the set of column headers saved with the query or use the default set.
Saved Queries
Saved Task Manager Queries are stored in a single XML file per user. This file can be copied and used by other users. Refer Standardizing Queries across all users.
Running a Saved Query
To run a saved query, you must highlight it in the Saved Queries tab and then click [Include].
You will be prompted to either load the set of column headers saved with the query or use the default set.
The query will show in the right-hand pane of the Task Manager window.
Click the Proceed toolbar icon to run the query.
![]()
All the Jobs with Tasks that match the criteria will be listed in the Results pane. You can sort the results by clicking the appropriate Column header.

Deleting a Saved Query
To delete a Saved Query, highlight the relevant query and then press Delete or click ![]() .
.
Renaming a Query Group
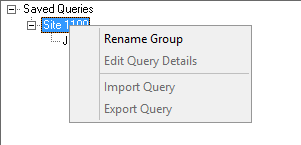
To rename a Query Group, right-click the relevant Query Group and then select Rename Group.
The Rename Group dialog will be displayed.
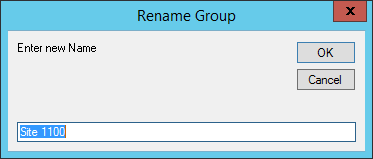
Type the new Query Group Name and then click [OK].
Renaming a Query / Moving a Query to another Query Group
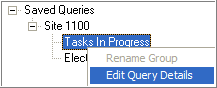
To rename a Saved Query or move a Saved Query to another Query Group, right-click the relevant Saved Query and then select Edit Query Details.
The Edit Query dialog will be displayed.
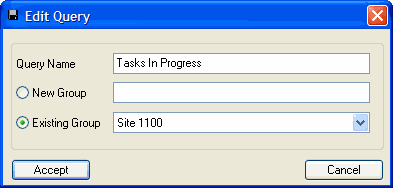
Type the new Query Name and/or change the Query Group, and then click [Accept].
Displaying a Task in Document Entry
Double-click a Task to display the Task Billing Group in Document Entry.

Note:
When loading Documents into Document Entry with Drill or Drag mode of loading, only the relevant Document tree node will be loaded. Click [Load Entire Document] to load the full Document.
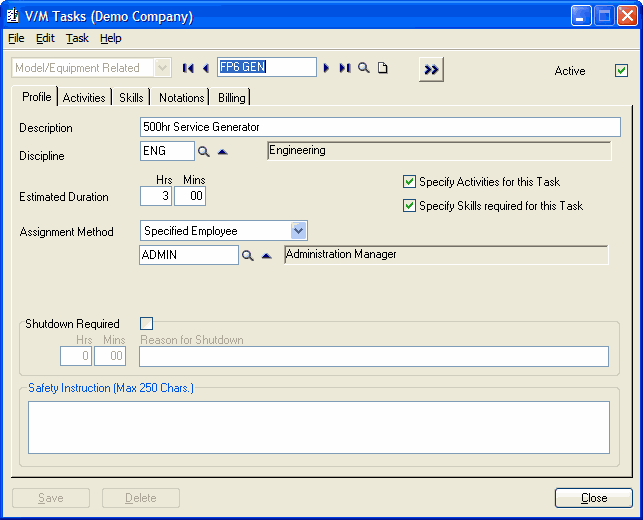
Displaying the Master Task
Highlight the Task and then click the Task icon on the toolbar.
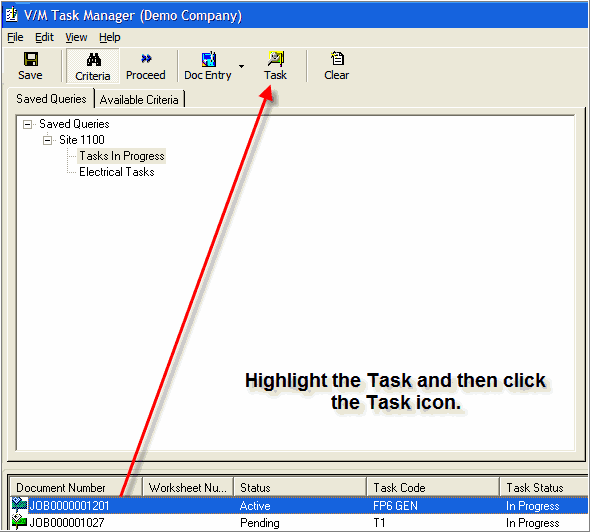
The Tasks window will be displayed.
Displaying a Quick Document View
Highlight the Task and then select Quick View from the Doc Entry toolbar icon drop-down.
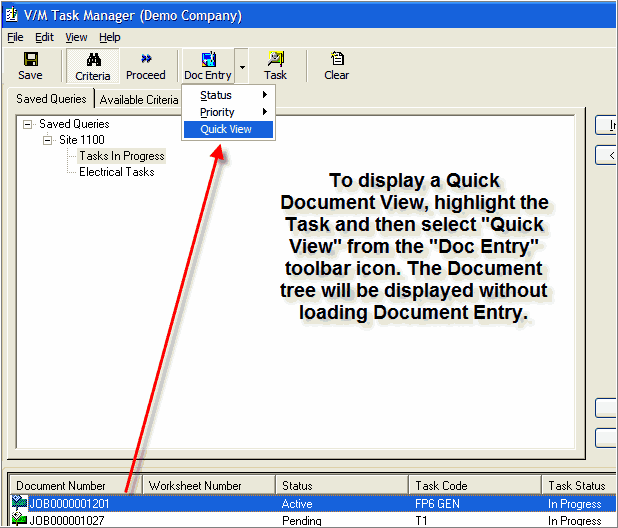
The Document tree will be displayed without loading Document Entry.

Double-click any line to open it in Document Entry.
Importing Queries from earlier versions of Service Manager
In earlier versions of Service Manager, Task Manager queries were saved as individual .tmq files. We suggest that you import these into the new query framework. To do this, click ![]() on the Saved Queries tab. locate the query and then save it in the required Query Group.
on the Saved Queries tab. locate the query and then save it in the required Query Group.

Standardizing Queries across all users
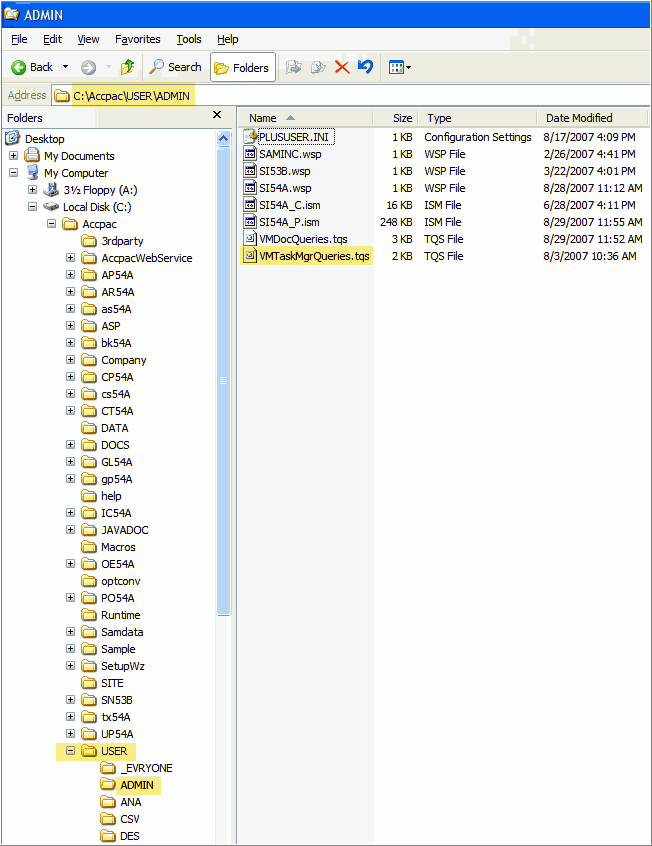
Saved Task Manager Queries are stored in a single XML file named VMTaskMgrQueries.tps per user.
This file is located in the following folder:
C:\Accpac\USER\<Accpac User Name>
For example: If the user is ANA, the file will be located in C:\Accpac\USER\ANA; if the user is ADMIN, the file will be located in C:\Accpac\USER\ADMIN.
To standardize queries across all users, copy the "master" source file containing all the queries to all the USER folders.