Tasks List

The Tasks flyout contains extensive criteria to search the database for Tasks and display the results in the Task list to be viewed or have appointments created for them.
Records are listed in the Task List by clicking on the checkbox within the criteria window, clicking on the Value text to display further search criteria, then selecting Load.
Columns
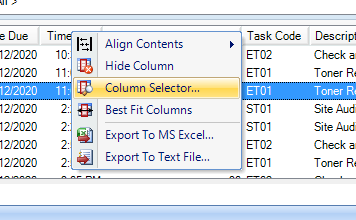
Columns within the Task List are configurable by right clicking on a column description and selecting Column Selector.

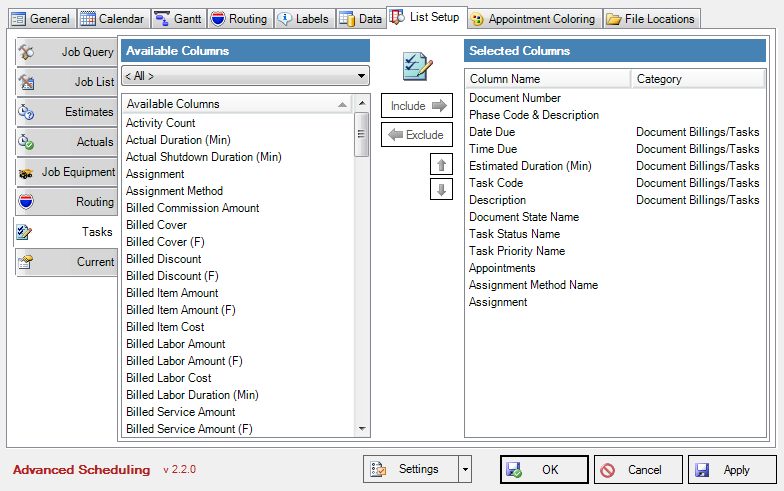
The List Setup Options tab opens where you can include or exclude desired columns.

Creating Appointments for Tasks
Appointments for the listed tasks can be created by selecting one or multiple rows and dragging them up to a Calendar View. If only one record was dragged then the Add Appointment window opens for the resource the task was dropped under, where you can confirm or select the appropriate Phase and Equipment for the task's appointment plus modify the usual time entry details as explained in more detail throughout this user guide.
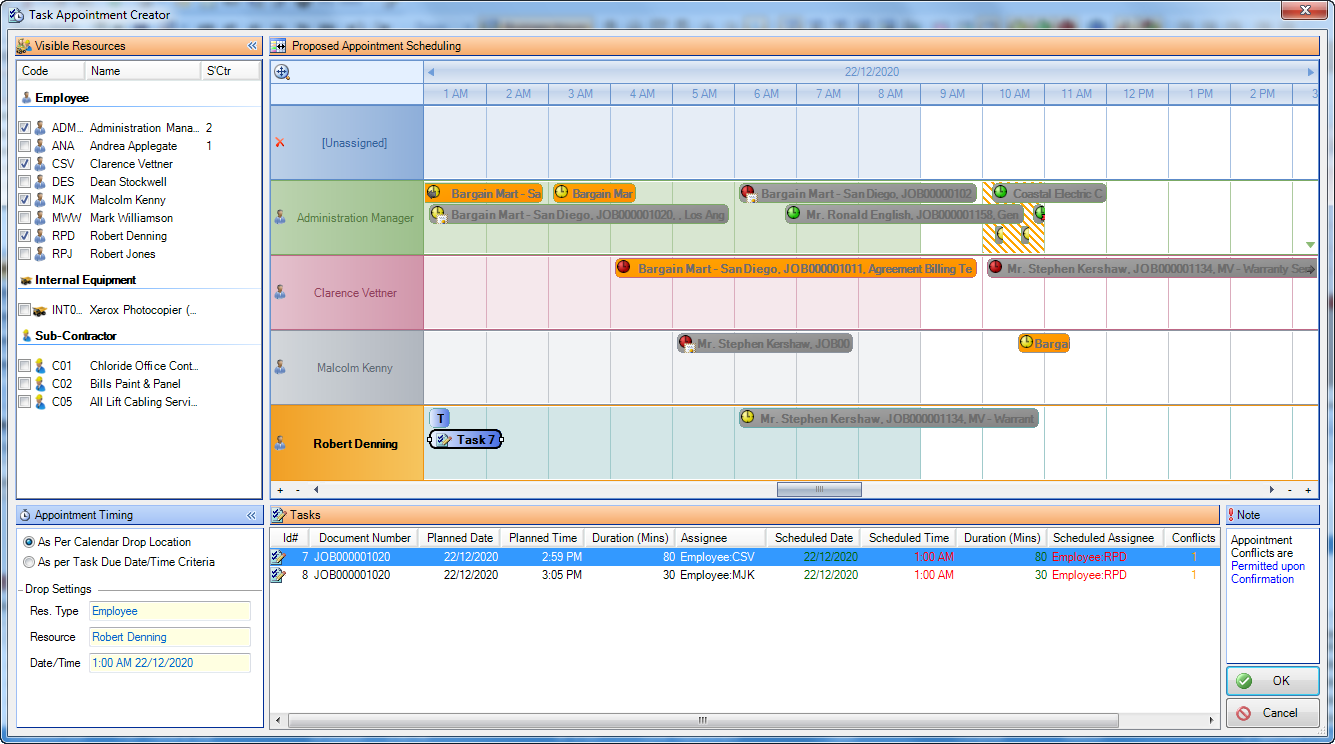
When 2 or more records are selected and dragged up to the Calendar View the Task Appointment Creator opens which displays a visual timeline of other scheduled jobs for resources who have been listed as the default assignment for the tasks, as well as the resource who the tasks were dragged to in the Calendar View, plus the current user logged into AS.

Additional resources who are currently displayed in the Calendar View can be added to the timeline display by clicking on their checkbox from the Visible Resources pane.
The Appointment timing can be modified from As per Calendar Drop Location to As per Task Due Date/Time Criteria.
Tasks are listed in the timeline and can be dragged to new resources, times and have their appointment times extended or shortened by pulling the edges.
When there are appointment conflicts the notification is displayed and whether they are permitted or not based on settings.
