Creating a Job including Service Center information

Contents
Click the Document Entry desktop icon.
Once Service Centers are enabled and configured for Employees and Sites, the drop-down list bar becomes active and Service Manager will automatically populate fields with default settings as defined in the setup procedure.
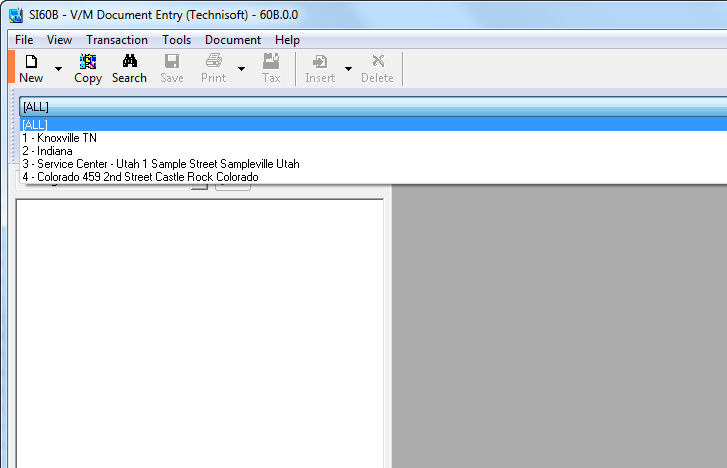
Step 1: Select Service Center
The Service Center drop-down field is located immediately below the main toolbar. It can be used to specify the Service Center, and likewise will display the Service Center of the active document.
Step 2: Click Go
Click Go ![]() to start creating the new Job. The Header window will be displayed with the selected Service Center shown.
to start creating the new Job. The Header window will be displayed with the selected Service Center shown.
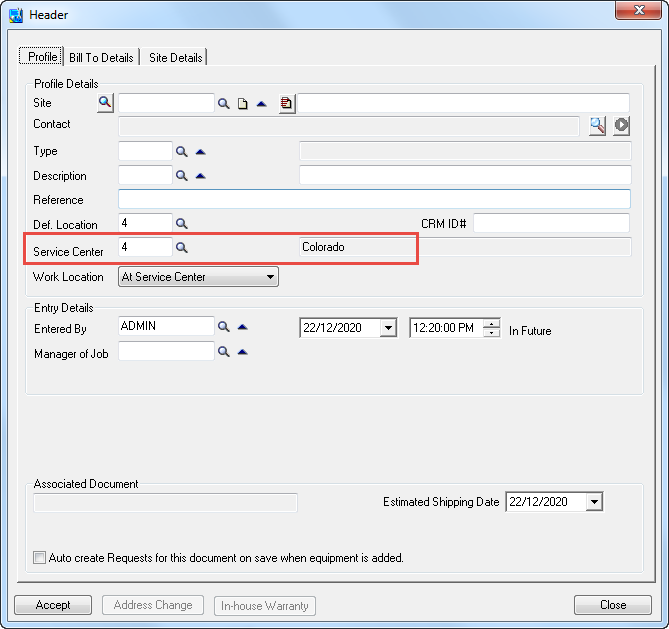
You must enter a Site for the Service Center field to be updated as it will display the last used by default for a new Job.
Header window with Site selected
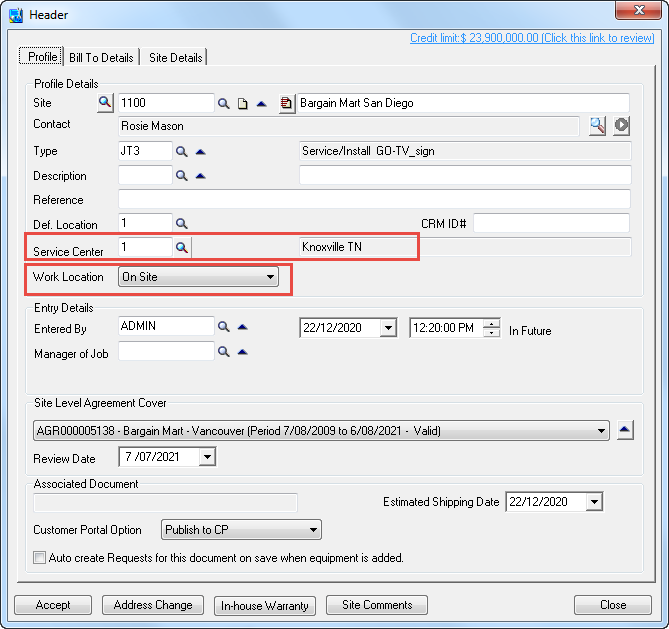
The system will display updated information in the Service Center fields. If a site with a default Service Center and Work Location is selected, the Service Center field and Work Location will override with the site's default.
Once details have been entered into the Header window, click [Accept] to continue creating the new Job. The Billing Options window will be displayed.
Step 3: Select Billing Options
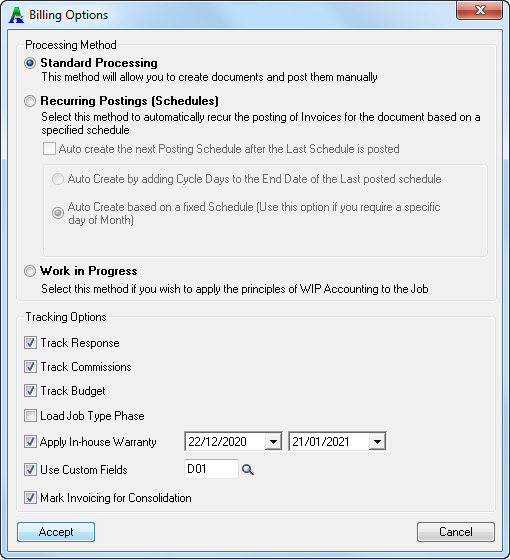
Select the Processing Method and Tracking Options required and then click [Accept] to continue. The Phase window will be displayed (if you cleared the Load Job Type Phase check box).
Step 4: Specify Phase Options
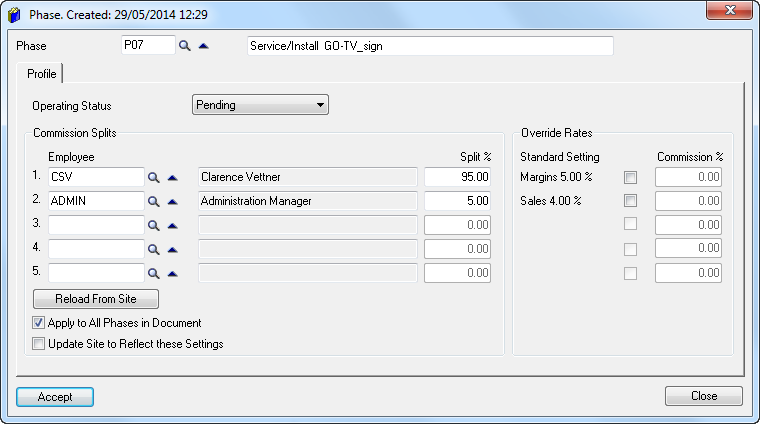
Specify the Phase details and then click [Accept] to continue. The Document Entry window will be displayed.
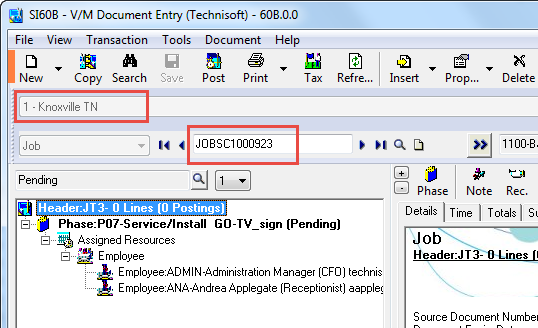
Step 5: Save the Job
Click the Save icon on the toolbar.
![]()
This will allocate a Job number to the newly created job. Note the unique Job prefix used to differentiate between the Service Centers. This was set up in the Service Center » Numbering tab. Refer to the Service Center » Numbering tab section in the Service Manager User Guide for additional information.
We now have a standard Job in the system and can start adding Equipment, Billing Groups, Services and Items to the Job as per normal.