Quotations
 »
»  » Quotation
One of the features associated with Quotations is the Expiry Date – allowing the quotation to be removed from the system after its expiry date, making housekeeping neat and tidy. No parts or labor are reserved by the quotation and accordingly, stock levels are not affected.
A Job can be created directly from a Quotation and effectively become the estimate for that job. Quotations can also inherit Agreements.
Related Topics
Creating a Quotation
To create a Quotation, click the drop-down list arrow ![]() to the right of the
to the right of the ![]() icon and then select Quotation.
icon and then select Quotation.
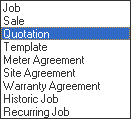
Alternatively, Select Document Type Quotation, Click New ![]() and then click Go
and then click Go ![]() .
.

The Header window will be displayed.
Header
The Quotation Header is similar to a Job Header.
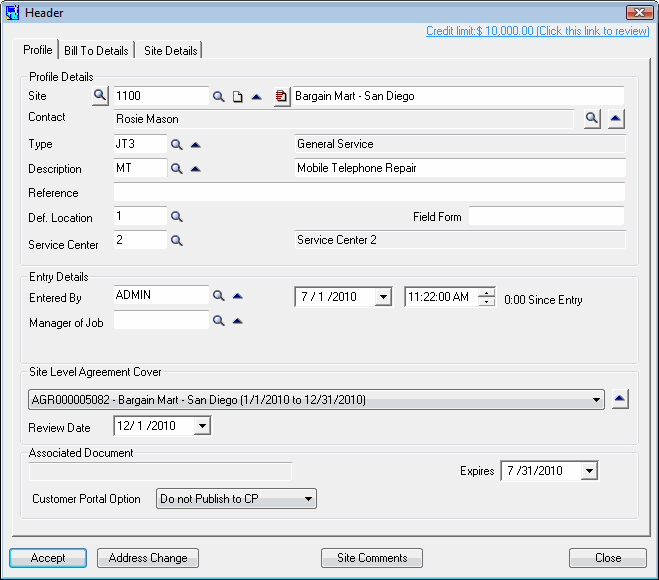
Enter the Header information and then click [Accept].
Note:
Site Level Agreements can be incorporated into a Quotation.
The expiry date of the Quotation is listed in the lower right hand corner of the screen.
![]()
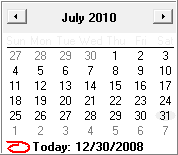
You can overwrite the expiry date by typing in the required date or selecting it using the calendar. (Click the drop-down arrow ![]() to the right of the date to display the calendar.)
to the right of the date to display the calendar.)
Click [Accept]. The Billing Options window will be displayed.
Related Topics
Default Expiry Date for Quotations and Sales Orders
Billing Options
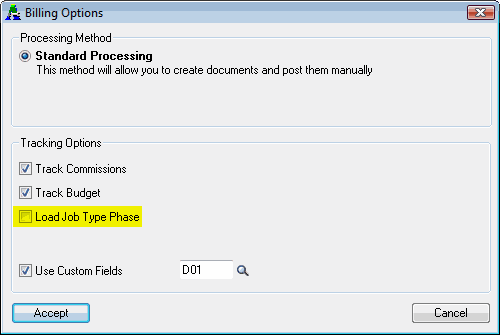
Select the required Billing Options and then click [Accept].
Phase
If you clear the Load Job Type Phase check box in the Billing Options window, you will need to enter the Phase information for the Quotation.
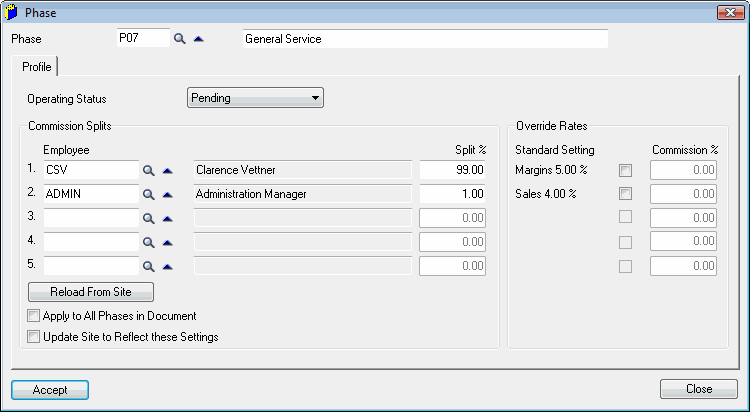
Enter or select the Phase and enter employee Commission Split information if required. Click [Accept]. The Quotation will now be displayed in the document tree.
Document tree
![]()
Note:
The Document Number for the new Quotation consists of a Prefix, QTE, and the next available Quotation Number, 3002. These are set in Company Options » Numbering tab.
![]()
Select a piece of Equipment to quote on. For example, this may be a quote to reprogram a mobile phone for this client. Add the Equipment record, then a Billing Group and then add a Service.
Equipment
Insert the Equipment to quote on using the Insert Equipment ![]() fast icon.
fast icon.
Billing Group
Insert a Billing Group using the Insert Billing Group Line ![]() fast icon.
fast icon.
Service Line
Add the Service using the Insert Service Line ![]() fast icon.
fast icon.
Billing tab
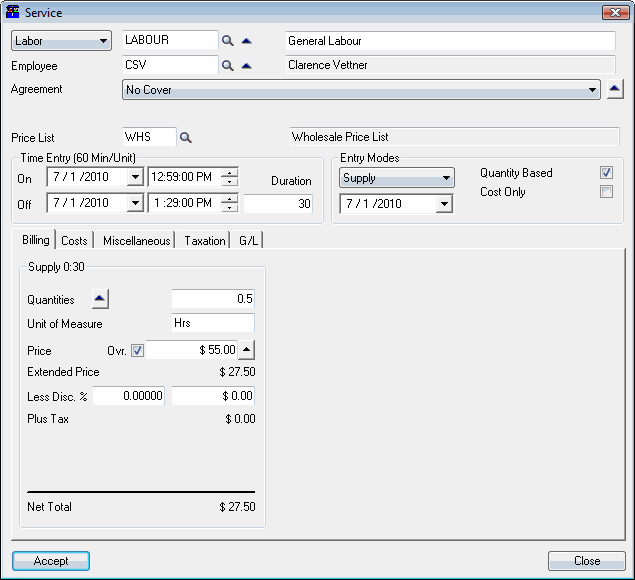
Note:
When adding a Service to a Quotation, only the Supply section on the Billing tab is displayed.
Costs tab
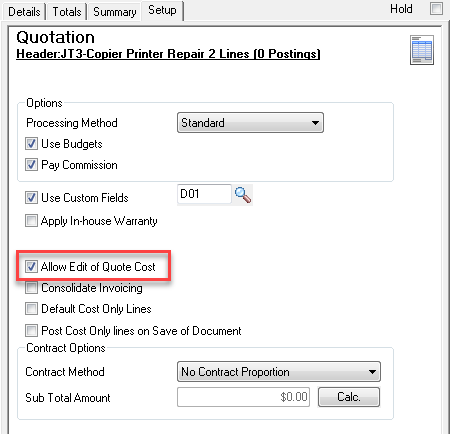
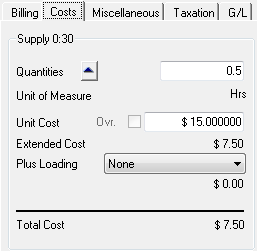
Line costs on a Quotation may be edited. To allow this, you must tick the Allow Edit of Quote Cost check box on the Setup tab of the Quotation. You will then be able to edit all Service and Item line costs. When you copy the Quotation to another Document, the true costs will be loaded, however the Quoted Cost will move to the Original Cost on the destination Document.
Click [Accept]. Click the Save icon on the toolbar to save the Quotation.
Note:
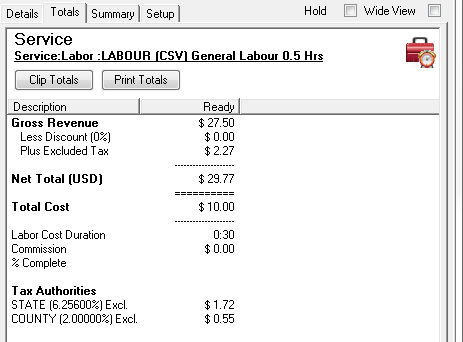
The Totals tab in the right-hand pane only displays two columns: Description and Ready.

Printing the Quotation
The options available allow the printing of a Quotation (default), Picking Slip, Document Listing and Document Notations.
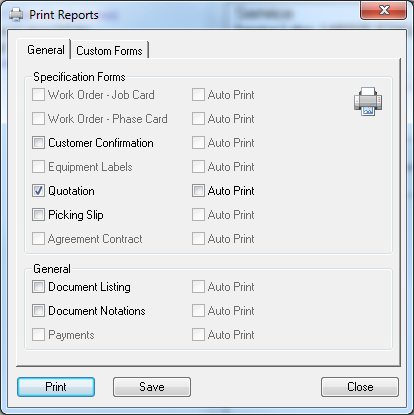
Click [Print]. The Print Quotation window will be displayed.
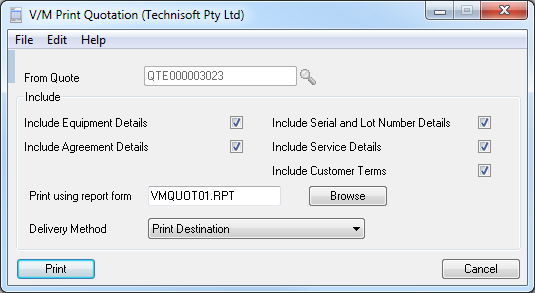
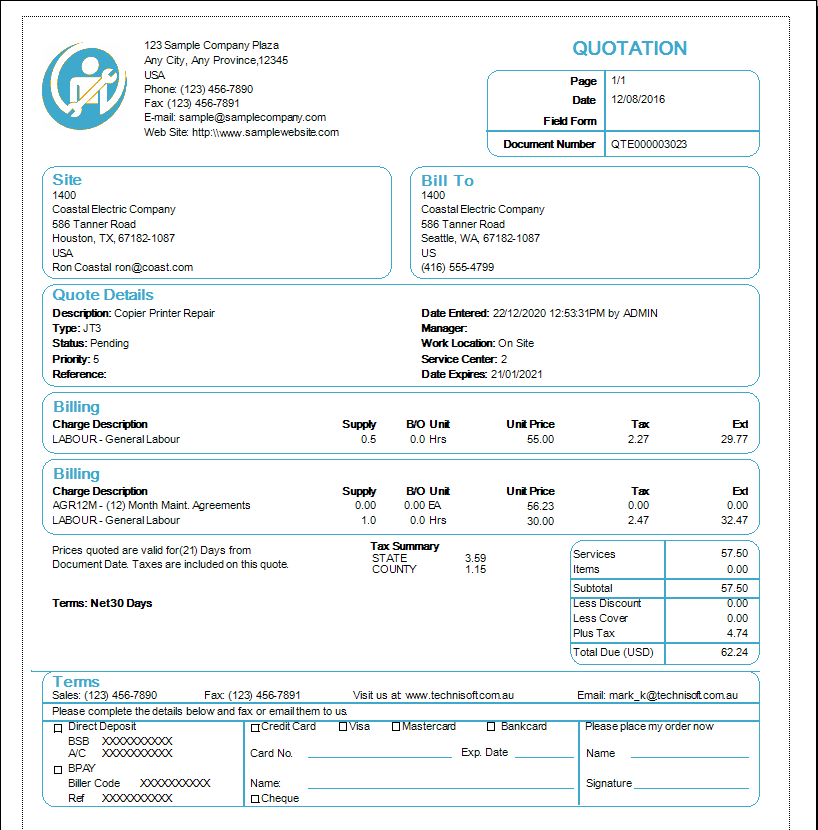
Tick the Include Customer Terms check box to print the relevant bank and credit card details on the bottom of the quote. The customer is now able to authorize the quote and arrange remittance immediately.
Promoting a Quotation to a Job
Refer Copy Documents » Promoting a Quotation to a Job.
Related Topic
Templates » Creating a Job from a Template
Changing and Viewing the Original Estimate
For example, an extra 15 minutes needs to be added to the Service.
Double-click the Service line to display the Service Properties.
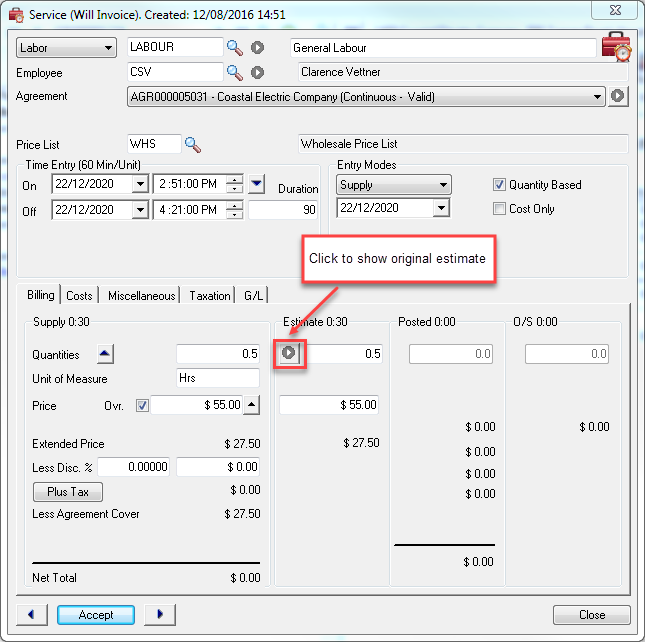
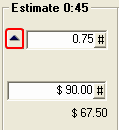
Change the Time Entry Duration field from 30 to 45. Note that the Supply and Estimate Quantities have now changed from 0.50 to 0.75 Hrs.
Service Manager keeps a record of the original quotation which you can view or adjust as a re-estimate. To display the original estimate, click the drill-to arrow ![]() to the left of the Estimate Quantity.
to the left of the Estimate Quantity.
The Maintain Original Estimates window will be displayed.
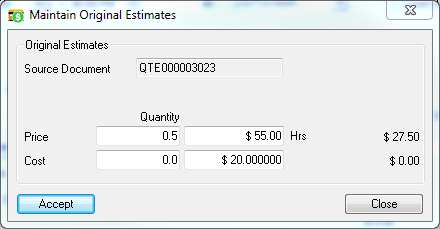
Change the Original Estimates if required and then click [Accept].
Exercise
Create a Job from a Quotation.
