Time Manager

Contents
 »
» 
Overview
Time Manager is similar to a time sheet entry program as it allows you to manage time spent on Jobs in the system without actually having to enter the Job.
You can create new and find existing time entries and post these time entries in batch to their allocated jobs for billing purposes.
Time Manager is particularly useful for aggregating time entries to a point in time, for example, a payroll, end of week, and then retrieving all those time entries to all associated Jobs, for a batch posting without having to enter each Job individually.
It is then possible to use the Multi Post program to post all these retrieved entries in batch as well.
Service Manager has also incorporated comprehensive Import/Export features into the Time Manager program. Time Sheets are easily entered from most sources.
Related Topics
Scheduling Resources / Time Entry
Starting the Time Manager Program
Click the Time Manager desktop icon.
The Enter Time Entries window will be displayed.
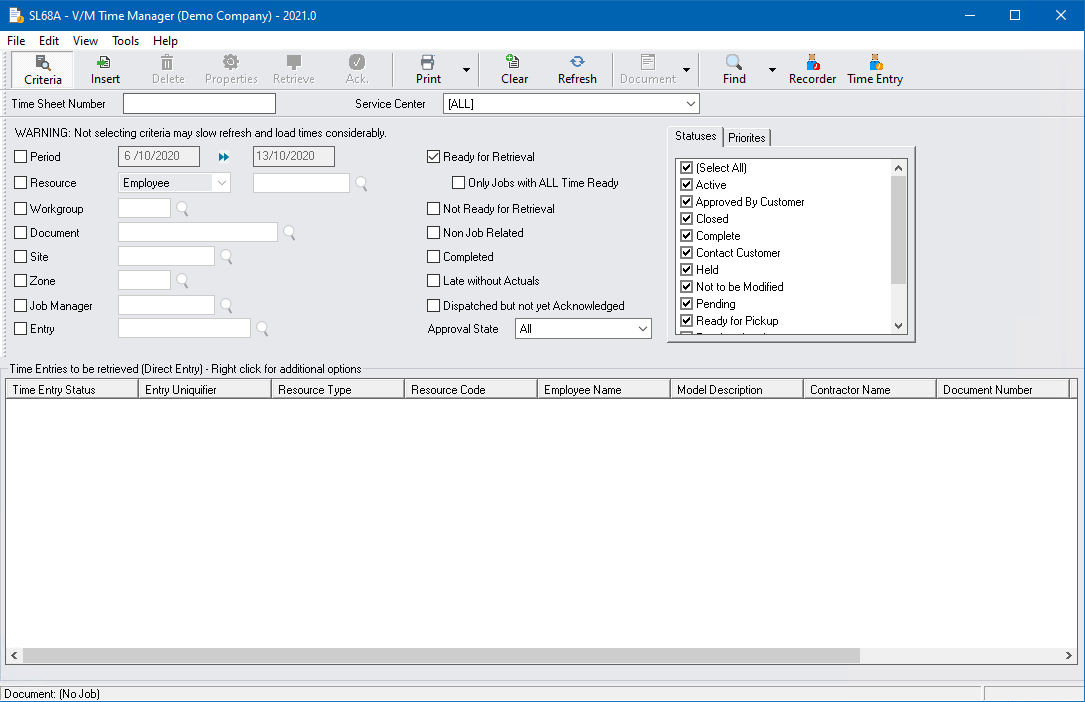
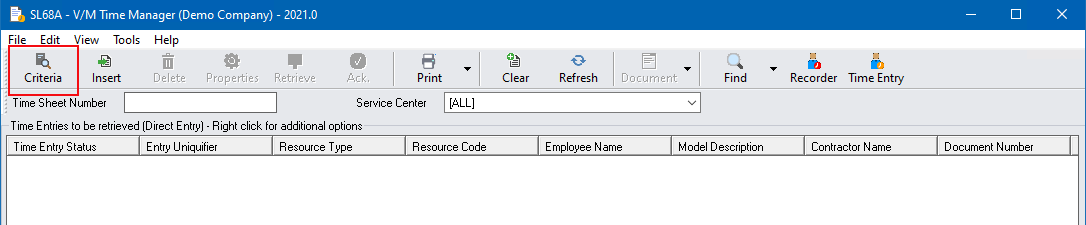
Notice that the Criteria icon is selected. This icon acts as a toggle to view more details on the screen when required. To hide the Criteria section of the screen, click the Criteria icon.
Specifying the Search Criteria
You can specify the following search criteria:
Period - Specify dates to search between.
Document - Specify a particular Document. Use the Finder![]() to locate the Document.
to locate the Document.
Site - Select a site to search.
Entry - Each Time Entry has a unique number. Specify the Time Entry number. Use the Finder![]() to locate the Time Entry.
to locate the Time Entry.
Other available search criteria include:
•Resource
•Work group
•Zone
•Job Manager
•Ready for Retrieval
•Not Ready for Retrieval
•Non Job Related
•Completed
•Late without Actuals
•Dispatched but not yet acknowledged
•Approval State
Statuses and Priorities - The search criteria can be applied to all or only to selected statuses and priorities.
You may specify one or many items to refine your search.
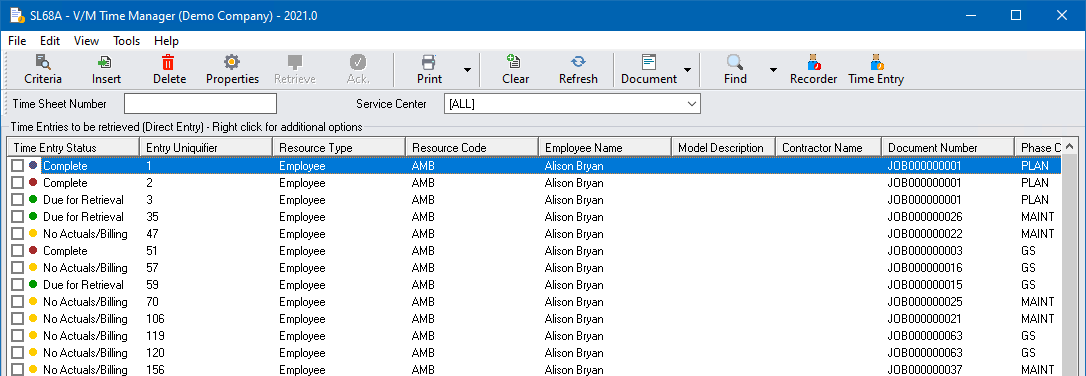
As an example, select Resource > Employee "AMB", tick on Ready for Retrieval, Not Ready for Retrieval and Completed options and then click the ![]() icon on the toolbar. This will display a list of time entries for Employee "AMB".
icon on the toolbar. This will display a list of time entries for Employee "AMB".
For a clearer view of the Jobs and time entries associated with them, click the ![]() icon on the toolbar.
icon on the toolbar.
Note:
The Employee Name only applies to Employee Resources; the Model Description only applies to Internal Equipment Resources; the Sub-Contractor Name only applies to Subcontractor Resources.
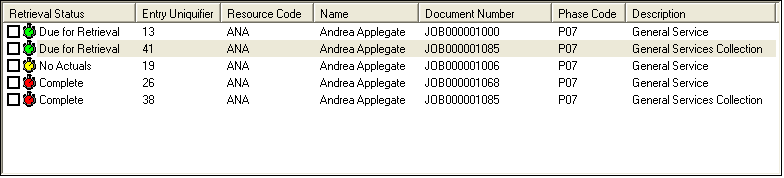
Time Entry Retrieval Status
Note the icons shown in the Time Entry Status column; some are yellow, some are green and some are red.
No Actuals (Yellow)
The time entry requires Actual times. Double-click the time entry and insert Actual times in the Time Entry tab of the Time Entry window.
Due for Retrieval (Green)
For a time entry to be Due for Retrieval, there are two things that must be entered into the Job:
1.There must be a Service associated with the Job
2.There must be Actual times entered into the Job.
Complete (Red)
The time entry has been retrieved to the Job.
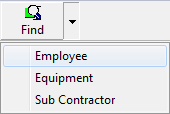
Finding Available Resources
The Find Next Available function allows you to find, for example, Employees with certain skill sets, allocated to certain zones and even by next available time slot.
Select the Resource Type: Employee, Internal Equipment or Subcontractor.
Refer Assigning Resources » Finding Available Resources.
Creating Time Entries
![]()
Click Insert to create a Time Entry.
Refer Scheduling Resources » Creating Time Entries.
Modifying Time Entries
To modify a single Time Entry to add a Service or Actual times for example, double-click the relevant Time Entry shown in the Time Entry list.
Change the Time Entry as required and then click [Save].
To modify a batch of Time Entries highlight them from the Time Entry list to select them. Right click and select 'Modify Selected Entries' which will raise the Update Selected Actuals window.
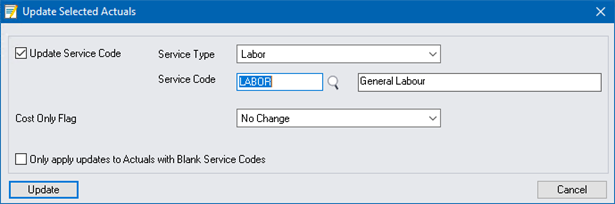
Make changes as required and then click [Update], this will update the entire selection of Time Entries.
Retrieving Time Entries into a Job
Only checked items with a Retrieval Status of Due for Retrieval can be retrieved. A Checked time entry is one where you have ticked the check box next to the entry.
During Time Entry retrieval, if a Minimum Quantity applies to the Service, only the Billing Supply Quantity will be set to the Minimum Service Quantity. The Cost Quantity will be set to the calculated Duration Quantity.
Click the ![]() icon to display the Retrieval Options window. Select the following as required. The choices are self-explanatory.
icon to display the Retrieval Options window. Select the following as required. The choices are self-explanatory.
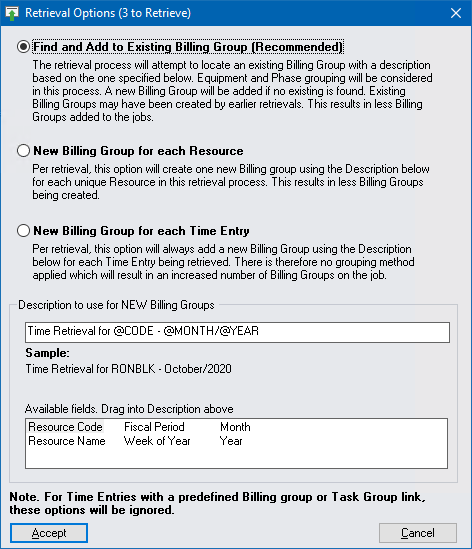
Click [Accept].
The Retrieval Status of the Time Entry/Time Entries changes to Complete and the icon changes to red. The Time Entry is now completed and retrieved into the Job.
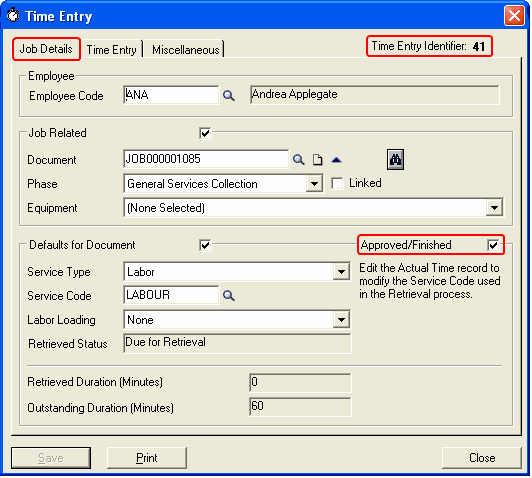
Example of Retrieving an Approved/Finished entry
In the following example, Actuals of one (1) hour were added to time entry #41 to make it Due for Retrieval.
Time Entry #41 has also been marked as Approved/Finished.
Displaying the Job associated with the Time Entry and changing the Job Status and Priority
To view the Job containing the completed time entry, highlight the Time Entry and then click the ![]() icon.
icon.
To change the Status or Priority of the selected Job, click the ![]() arrow to the right of the
arrow to the right of the ![]() icon and then select Change Status or Change Priority as required.
icon and then select Change Status or Change Priority as required.
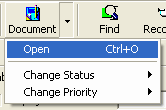
Note: Document > Open will also display the Job, as will Ctrl+O.
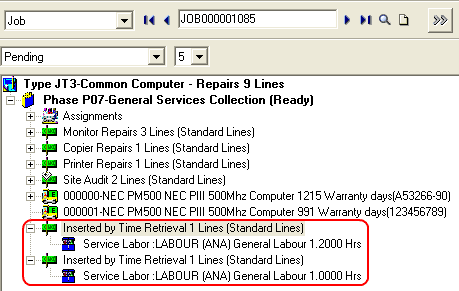
As an example, time entry #41 is highlighted and accordingly, Job JOB000001085 has been displayed in Document Entry.
Notice the highlighted Billing Lines in the Document tree. They are labeled Inserted by Time Retrieval. The first Billing line relates to time entry #38, the second to time entry #41.
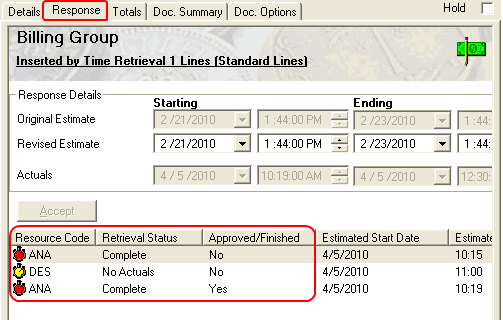
Notice the detail under the Time tab of this Job. A "virtual" view of the time entries will be displayed, i.e., the information is sourced from the Time Manager program and displayed under this tab.
Unretrieving a Time Entry
Refer Unretrieving Time Entries for instructions on unretrieving a Time Entry.
Customizing the Time Entry list
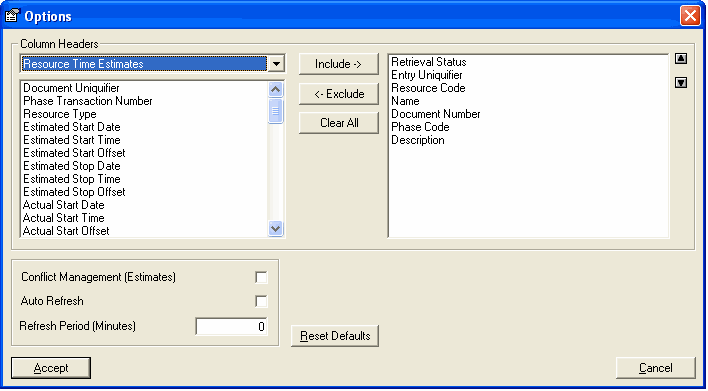
As with most Service Manager modules, the column headers of the Time Entry list can be customized to suit your requirements. To do this, on the Enter Time Entries window, select Tools » Options and then Include and Exclude and reorder the columns as required.
Printing the current Time Entry list
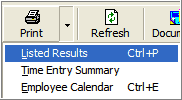
To print the current list of time entries, click the ![]() arrow to the right of the
arrow to the right of the ![]() icon and then select Listed Results.
icon and then select Listed Results.
The Print List of Results window will be displayed.
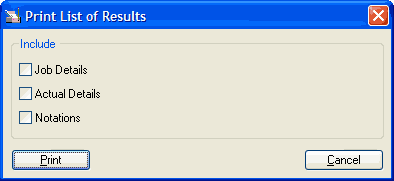
Select the additional detail to include on the report by ticking the relevant check box(es) and then click [Print].
The Time Manager Listing report will be displayed.

Printing the Time Entry Summary Report
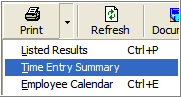
To print the Time Entry Summary Report, click the ![]() arrow to the right of the
arrow to the right of the ![]() icon and then select Time Entry Summary.
icon and then select Time Entry Summary.
Refer Time Entry Summary Report.
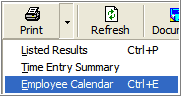
Printing the Employee Calendar
The Employee Calendar shows an employee's time entries in calendar format on an Excel spreadsheet for the specified period. This could, for example, be sent to an employee who would use it for time management purposes.
To print an Employee Calendar, click the ![]() arrow to the right of the
arrow to the right of the ![]() icon and then select Employee Calendar.
icon and then select Employee Calendar.
The Employee Calendar window will be displayed.
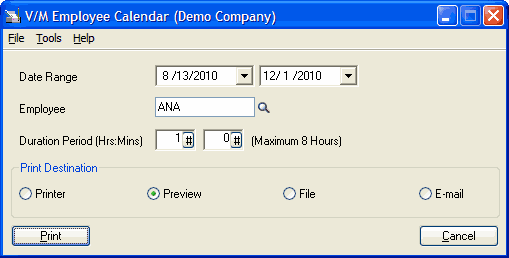
Select the required Date Range, Employee, Period Scale and Print Destination, and then click [Print]. The spreadsheet will be generated.
