Toolbar Icons

Contents
The toolbar icons provide quick access to general Document Entry functions.
Click an icon below to display information about that icon.

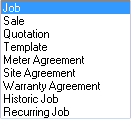
New - Create New Document
Click ![]() to create a new document of the currently selected Document Type.
to create a new document of the currently selected Document Type.
Click the arrow ![]() to the right of
to the right of ![]() to create a different type of document to the one currently selected.
to create a different type of document to the one currently selected.
Copy - Copy and Create New Document
Click ![]() to open the V/M Create New Documents window and create a new document from an existing document.
to open the V/M Create New Documents window and create a new document from an existing document.
Refer Copy Documents
Search - Search for Site and/or Equipment
Click ![]() to search the Service Manager database or find items in the Document tree.
to search the Service Manager database or find items in the Document tree.
Refer Searching the Database and Document Tree.
Save - Save Document
Click ![]() to save the current document.
to save the current document.
Post - Post Document
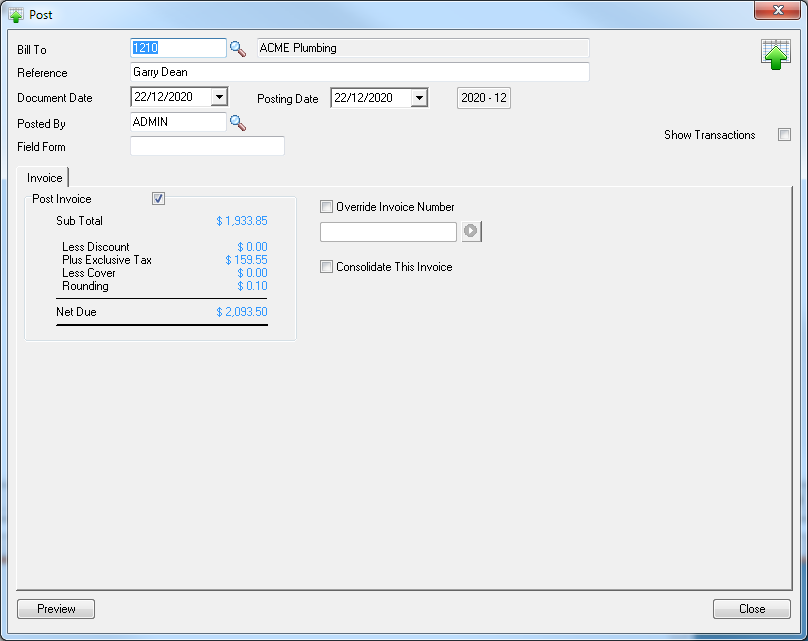
Click ![]() to create an Invoice for the document.
to create an Invoice for the document.
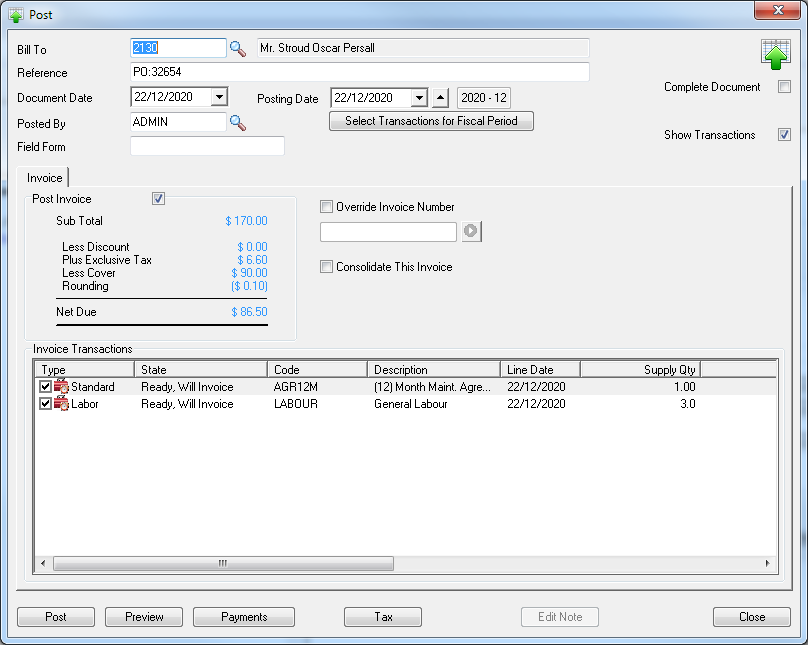
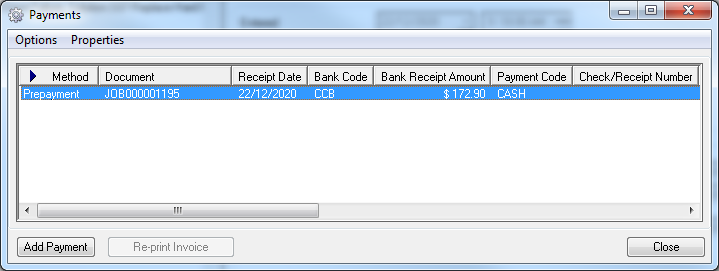
Click [Payments] to open the Edit Receipt Amount window and record a payment. See Pay for further details
Click [Preview] to preview the Invoice.
Click [Post] to post the Invoice.
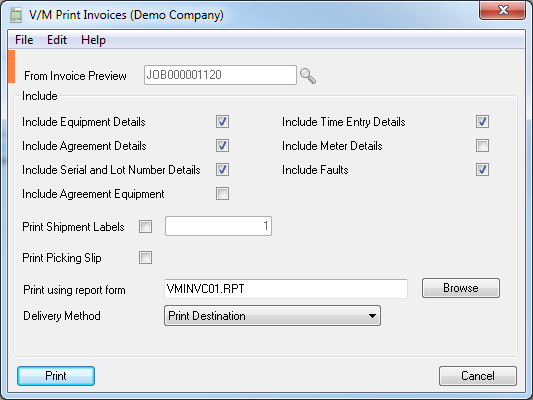
Set the details required on the Invoice and then click [Print]. A Preview Invoice document will be displayed.
Refer Forms » Invoices for additional information about generating Invoices.
Pay - Payments and Receipts
Click ![]() to open the Edit Receipt Amount window or select the Payments button on the Post form.
to open the Edit Receipt Amount window or select the Payments button on the Post form.
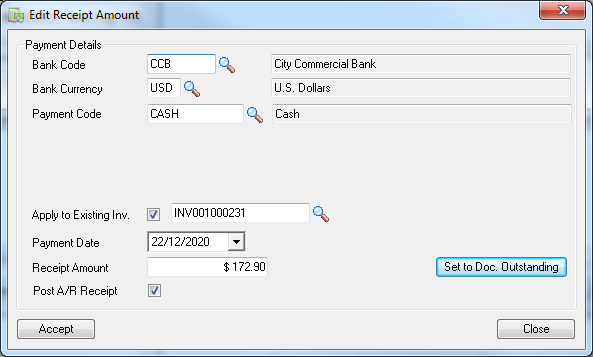
Select the payment details and click [Accept] to record the payment.
Print - Print Document Forms
Click ![]() to do general printing.
to do general printing.
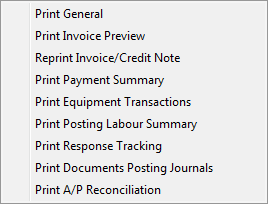
Click the arrow ![]() to the right of the
to the right of the ![]() icon. The following will be displayed.
icon. The following will be displayed.
Print General
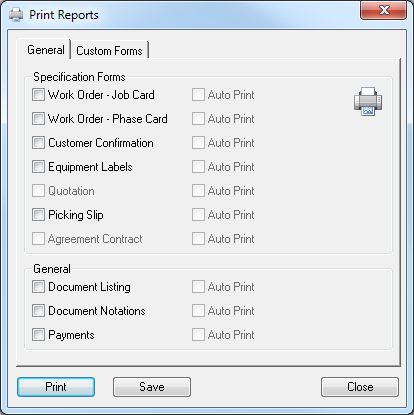
Select the required forms and additional details to print. Select Auto Print to print the form without confirmation. Click [Print].
Click [Save] to save the selected items as a new default selection.
Print Invoice Preview
This is effectively a restricted version of Post. It enables users who do not have "Posting" security, to be able to generate a Preview Invoice. Note that there is no [Post] button on the Post window.
Click [Preview]. The Print Invoices window will be displayed.
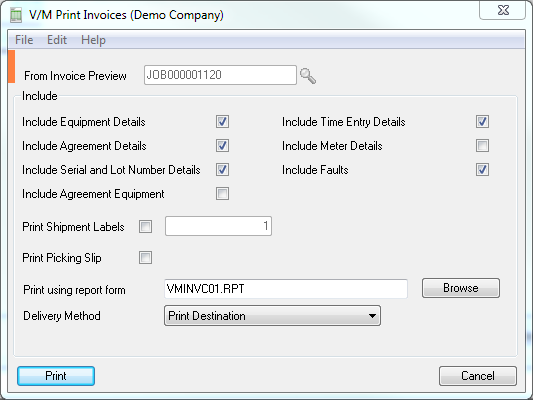
Click [Print].
Refer Forms » Invoices for additional information about generating Invoices.
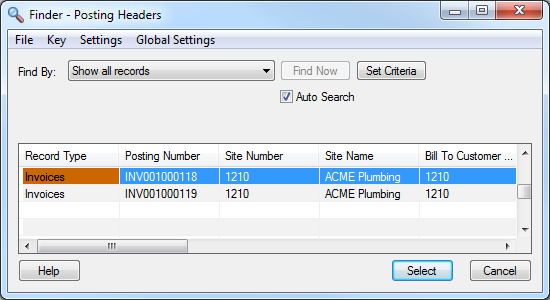
Reprint Invoice/Credit Note
It is possible to reprint Invoices and Credit Notes. If the Document loaded has been posted, a menu option will become available off the Print menu to Reprint either the Invoice or Credit Note.
A Finder will be displayed allowing you to select which posting to Reprint.
Print Summary
Print Summary will print a complete summary of the current Job.

Print Payment Summary
The Payment Summary window will be displayed. Confirm details before printing, though none of the fields can be changed.
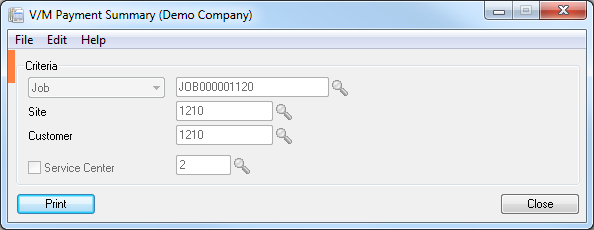
Click [Print].

Print Equipment Transactions
This Equipment Transactions Report shows all Billing for all the Equipment on the Document.
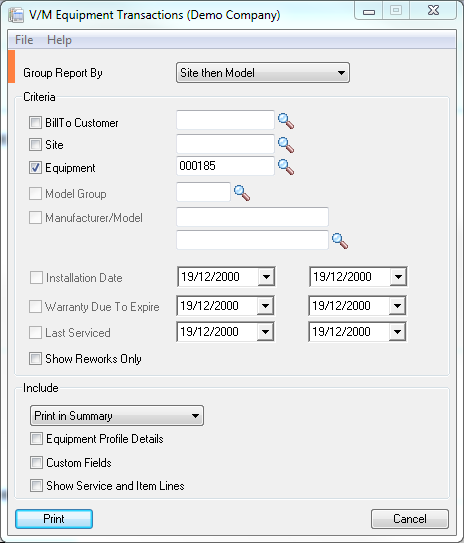
Click [Print] to continue.

Print Posting Labor Summary
This option prints the V/M Employee Labor Report with Job details pre-filled.
Print Response Tracking
This option prints the V/M Response Tracking Variance report with Document Range pre-filled.
Print Documents Posting Journals
This option prints the V/M Posting Journal report with the option to 'Print for Single Document' checked and the Document Number pre-filled.
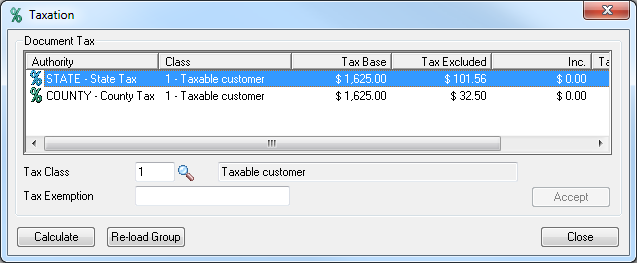
Tax - Setup Customer Taxes
Click ![]() to view and set up the tax details that apply to this customer for the current document.
to view and set up the tax details that apply to this customer for the current document.
Refresh - Refresh Document Totals
Click ![]() to refresh the document tree and recalculate document totals.
to refresh the document tree and recalculate document totals.
Insert - Insert Detail Line
Click ![]() to insert entries (nodes) into the document tree. The item inserted depends on the currently selected line.
to insert entries (nodes) into the document tree. The item inserted depends on the currently selected line.
Click the arrow ![]() to the right of the
to the right of the ![]() icon. The following is an example of what will be displayed:
icon. The following is an example of what will be displayed:
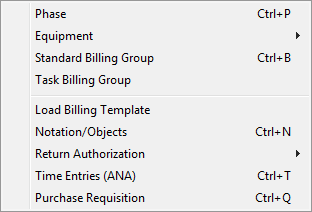
The options available depend on the currently selected line.
Properties - Edit Line Properties
Click ![]() to view or edit the properties of the currently selected line.
to view or edit the properties of the currently selected line.
Click the arrow ![]() to the right of the
to the right of the ![]() icon. The following is an example of what will be displayed:
icon. The following is an example of what will be displayed:
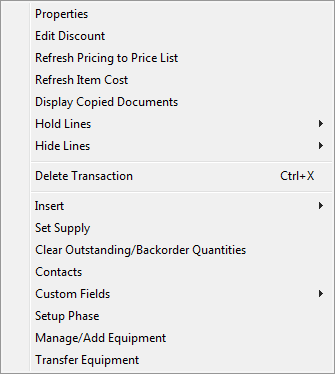
The options available depend on the currently selected line.
Select Properties to view or edit the properties of the currently selected line.
Note: You can also double-click an item to display its properties.
Delete - Delete Line
Click ![]() to delete the currently selected line.
to delete the currently selected line.
Assign - View Available Resources
Click ![]() to assign Resources to a Job Phase.
to assign Resources to a Job Phase.
The Assign Resources window has three tabs, one for each type of Resource:
•Active Employees
•Internal Equipment
•Subcontractors
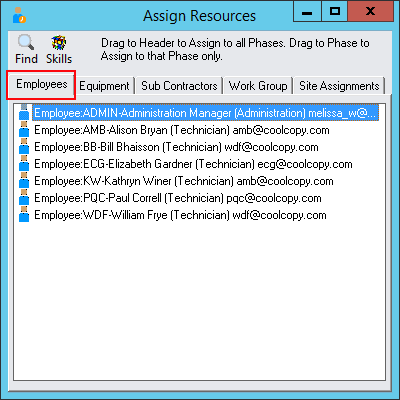
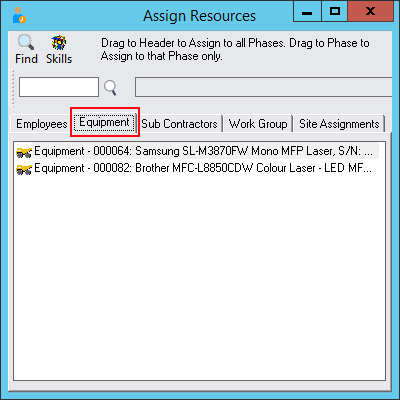
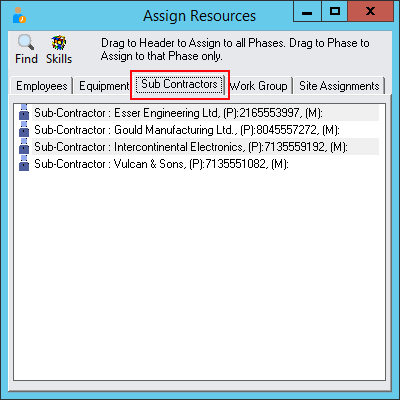
To assign the Resource to all Phases, drag and drop the Resource on the Document Header. To assign a Resource to a single Phase, drag and drop the Resource on the applicable Phase.
Assigned Resources will appear in the Assigned Resources node of the Phase, categorized by Resource Type.
Click ![]() to highlight Employees contained within a particular Work Group. Refer Work Group Setup.
to highlight Employees contained within a particular Work Group. Refer Work Group Setup.
Click ![]() to highlight the default Employee(s) for the Site. Refer Site Setup » Assignments tab » Standard Assignments.
to highlight the default Employee(s) for the Site. Refer Site Setup » Assignments tab » Standard Assignments. ![]() can also be used on the Equipment tab to highlight Internal Equipment for a specific Internal Site.
can also be used on the Equipment tab to highlight Internal Equipment for a specific Internal Site.
Click ![]() to find, for example, Employees with certain skill sets, allocated to certain zones and even by next available time slot. Refer Assigning Resources.
to find, for example, Employees with certain skill sets, allocated to certain zones and even by next available time slot. Refer Assigning Resources.
Currency - Set up Document Currency Rates
Note: The Currency icon will only be displayed if your company uses multicurrency accounting.
Click ![]() to set up currency exchange rates for the current document.
to set up currency exchange rates for the current document.

Related Topics