Job Phase Functions

Contents
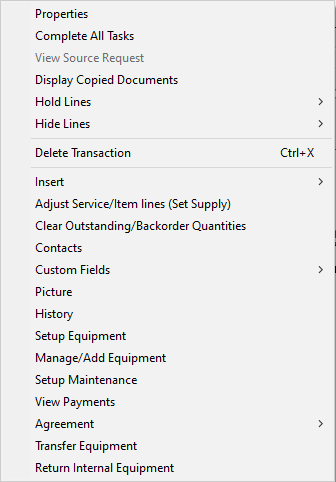
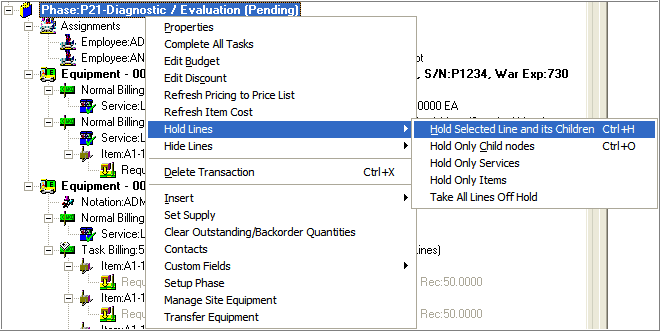
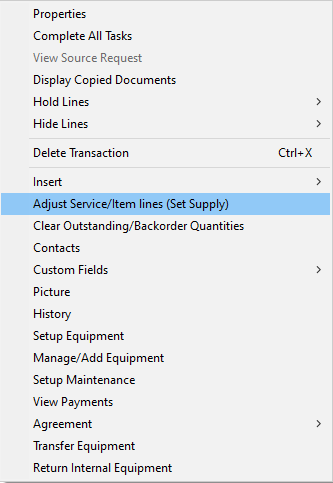
Right-click a Phase node.
![]()
A drop-down list of actions that you can perform while a Job Phase node is selected will be displayed.
You can also use the toolbar icons and fast icons to perform an action when on a Job Phase. It is a matter of personal preference as to which method you use.
The following Job Phase functions are explained below:
Adjust Service/Item lines (Set Supply)
Related Topics
Assigning Resources to a Job or Phase
Properties
Select Properties to display the Phase details. You can also double-click the Phase to display the Phase details.
The Phase Operating Status can be modified, however, when a Phase's Status is set to Complete, Time Entry insertions and adjustments are not permitted.
Various Phase Properties are displayed in the right-hand pane.
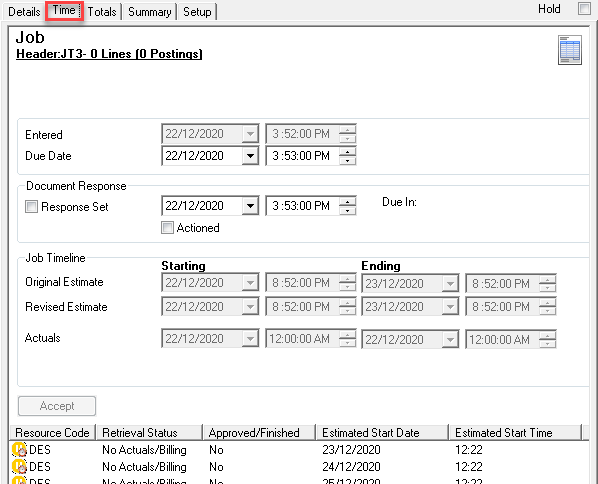
Tracking Response Time
When creating a Job, the Billing Options window has a check box named Track Response. If you tick this check box, Service Manager will track and report information such as response times. Service Manager allows the reporting to be at line level from the directory tree structure.
This is a very powerful tool used to manage time efficiency and customer satisfaction in relation to response times.
Edit Budget
Edit Budget is used to enter a budget against a Phase. You can maintain both an Original Budget and a Current Budget.
Edit Budget will only be available if the Use Budget check box is ticked in the Setup tab options in the right-hand pane.
Note: Track Budget is set initially in the Document Settings > Tracking Options window when creating a Job.
For each Phase, enter estimates for the fields shown.

Displayed on the left of the window is the Current Budget and on the right of the window is the Original Budget.
Recalculate Options
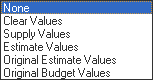
None |
Select this option to leave budget values blank. |
Clear Values |
Select this option to zero existing values. |
Supply Values |
Select this option to set the budget to the Supply/Committed value based on each individual detail line. The values calculated are based on individual detail lines which are accumulated for each section of the budget. |
Estimate Values |
Select this option to set the budget to the Estimate value based on each individual detail line. The values calculated are based on individual detail lines which are accumulated for each section of the budget. |
Original Estimate Values |
Select this option to set the budget to the Original Estimated value based on each individual detail line. The original values are stored when the document is first saved or if copied from another document. The values calculated are based on individual detail lines which are accumulated for each section of the budget. |
Original Budget Values |
Select this option to set the budget to the Original Budget value. This may not be the same as values accumulated at line level if entered manually. The original values are stored when the document is first saved or if copied from another document. The values calculated are based on the values in the budget header and not necessarily the accumulation of individual detail lines. |
Locked - Tick this check box to lock the Original Budget. The Employee ID of the last employee to lock the Original Budget will be shown.
Click [Accept].
If you are tracking Budgets for a Document, three extra columns will be displayed in the Document Entry Totals tab.
![]() OR
OR
![]()
Related Topics
Hold Lines
Hold Lines will stop a Document, Phase, Billing Group, Service or Item from being posted and invoiced.
When a line is held, be aware that the line is effectively reversed. This is very important when dealing with Work in Progress (WIP).
Note: When multiple Phases are present, care needs to be taken when posting. To invoice a single Phase, all other Phases must be held. To invoice a single line, all other lines must be held. You cannot simply click an Item line, for example, to post that Item. The posting process will post all unposted items in the Document that are not on hold.
Placing a line on hold
To hold a line and/or its children, right-click on the line, select Hold Lines and then select the required Hold option.
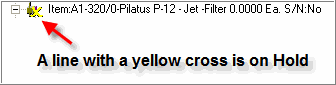
The icon will change for any line that is on Hold. A yellow cross will appear over the icon signifying its held status.
This is also reflected in the Document Entry Details tab. The Hold check box will be ticked.

Removing a hold
The Hold Selected Line and its Children option is a toggle. A tick to the left of the option signifies that the lines were held at this level.
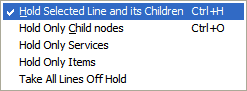
To remove the hold on the line and its children, select this option again. Note that the hold cannot be removed from the individual children as the Hold Line right-click option will be disabled for those lines.
If you held only Child nodes, Service or Item lines, right-click on the parent line for which the hold is to be removed and then select Take All Lines Off Hold.
Note: You can also remove a hold on a line by clearing the Hold check box in the Details tab. If the check box is grayed out then you will need to remove the hold at the parent level.
Hide Lines
Note: Do not confuse this with Hold Lines.
Hide Lines will hide an Item or Service from the Invoice to be generated. The totals will be accumulated correctly, but the individual line will not be displayed on the invoice.
An example where this could be applied is a gas conversion for a motor vehicle. Many individual items are required. There may be 100 individual parts needed to complete the Job, yet it is not required or wanted to display an invoice with all these items displayed.
All these items are still added to the Job as individual parts to reflect correct stock control, but all lines are marked as hidden. A notation is then placed in the system describing the "package deal" for the conversion with a single all up total being displayed.
Hiding a line
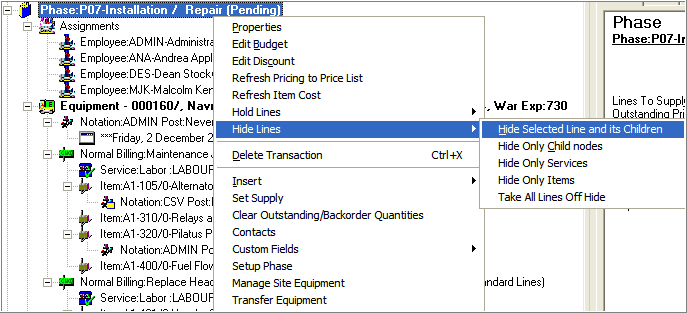
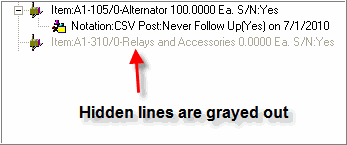
To hide a line and/or its children, right-click on the line, select Hide Lines and then select the required Hide Option.
When a line is marked as hidden, it will be grayed out.
Unhiding lines
The Hide Selected Line and its Children option is a toggle. A tick to the left of the option signifies that the lines were hidden at this level.
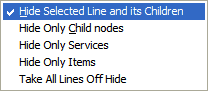
To unhide the line and its children, select this option again. Note that you cannot unhide individual children as the Hide Line right-click option will be disabled for those lines.
If you hid only Child nodes, Service or Item lines, right-click on the parent line and then select Take All Lines Off Hide.
When previewing a standard Invoice with all the Services & Items included, the following is displayed. Notice that all lines and items are displayed.

The same invoice is shown with the Billing Lines set to Hide Lines. Notice that the totals are the same yet only the Labor line is printed.

Adjust Service/Item Lines (Set Supply)
The Set Supply tool allows you to set the Supply Quantity for Service and Item lines in a number of ways. This tool is available on all Document tree nodes where it is applicable.
Note: If you set the Supply Quantity on a parent node, it will set the Supply Quantity on all child nodes. The Supply Quantity can be applied to all Service and Item lines, only Service lines or only Item lines.
The Document Entry right click “Adjust and Set Supply” option has been enhanced internally so it can also be consumed by the Web Screen Document Entry. A new function to clear and set Agreement Cover on selected lines has been added.
To use the Set Supply tool, right-click on the relevant line and then select Set Supply.
The Supply window will be displayed.
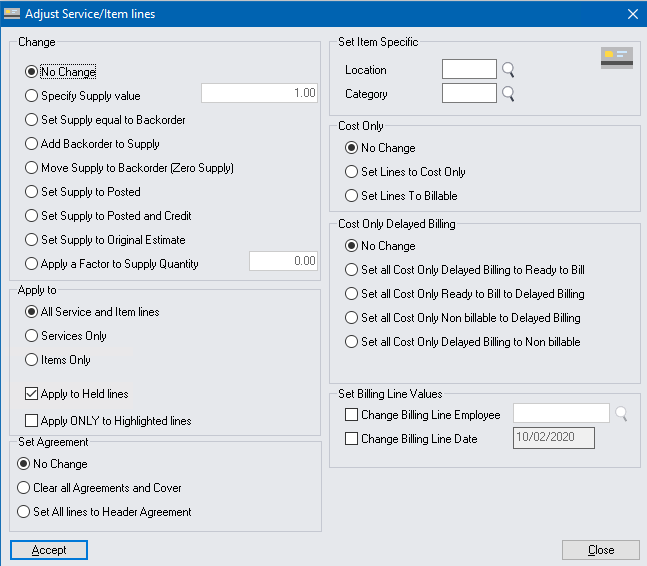
Select the required Change mechanism and select which line types the change should apply to.
Edit Discount
Refer Job Header Functions » Edit Discount.
Phase Commission Settings
Refer Employee Commissions.