Using the Fast Icons

Contents
 Insert Phase Line
A Phase can be only be added to a Document Header. A Job must have at least one Phase.
Click Phase. The Phase window will be displayed.
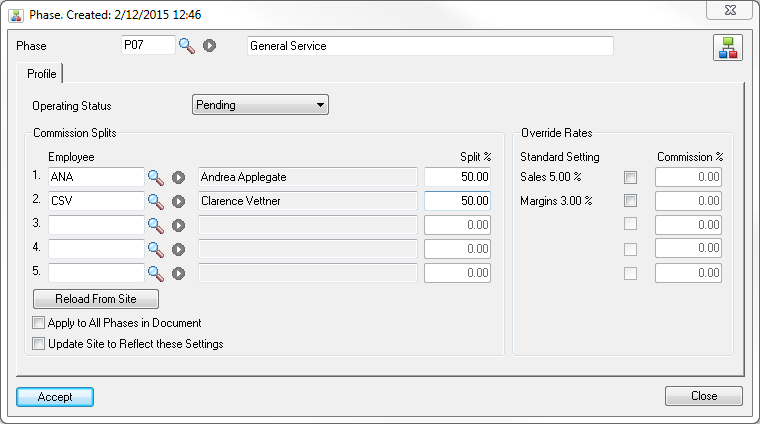
The defaults are customized in V/M Setup » V/M General » Job Phases. You can overwrite the Phase Description and change the Operating Status of the Job if required.
If Commission Tracking is turned on, Commission Splits defaulted from the Site and Commission Rates defaulted from Employee records may be modified for the Phase. Refer Employee Commissions.
Click [Accept] to create the new Phase.
Insert Meter
Add Meters to Meter Agreements.
Click Equip. The Meter window will be displayed.
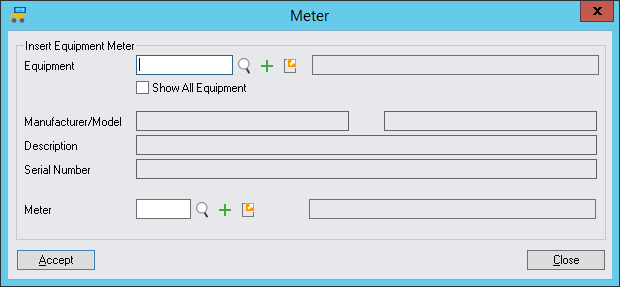
Type or select the Equipment to monitor. The Manufacturer/Model, Description and Serial Number will be displayed as information only.
Type or select the Meter Number, set up in V/M Setup » V/M Equipment » Meters. (A piece of Equipment can have multiple Meters.)
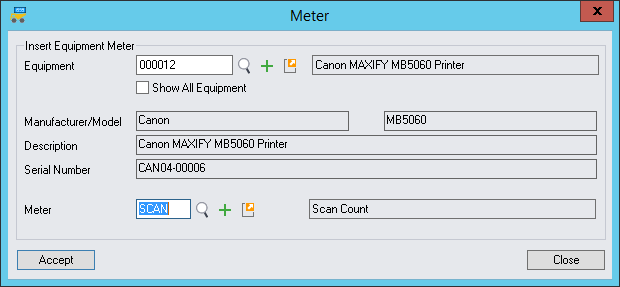
Click [Accept] to create the new Meter.
 Insert Equipment Line
Once a Job has been created and a Phase added, you can add Equipment to the Job.
Click the arrow ![]() to the right of the Equip. icon and then select
to the right of the Equip. icon and then select
•Single Select Equipment to add a single piece of Equipment to the Job
•Multi Select Equipment to add multiple pieces of Equipment to the Job
•Multi Select Internal Equipment to add multiple pieces of Internal Equipment to the Job
•Manage/Add Equipment to quickly view/add/remove Equipment on the Job
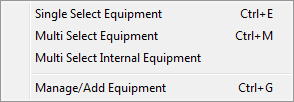
You can also click Equip. or press Ctrl+E to add a single piece of Equipment to a Job.
Single Select Equipment
An Equipment Finder![]() is available to select a piece of Equipment. Once a piece of Equipment is selected, the Equipment details are displayed. Warranty and Agreement details also appear.
is available to select a piece of Equipment. Once a piece of Equipment is selected, the Equipment details are displayed. Warranty and Agreement details also appear.

Building Equipment and Billing Component Items
Using the Build function, Equipment can be built from a Model Parent. If that Model contains Components and Item/Model relationships exist for the Model Parent and all the Model Components, a Billing Group containing the Component Items will automatically be added to the new Equipment record in Document Entry.

Select Build from the drop-down list.
Enter the Model to build the Equipment from.
Enter the Equipment Serial Number. Click [Generate] to default the next available Serial Number.
Track Warranty if required.
Click [Accept].

This will add an Equipment record to the Document tree followed by a Billing Group containing the Component Items.

Miscellaneous Equipment
Miscellaneous Equipment provides a means of adding an Equipment record to a Document in Service Manager without having to search for the actual Equipment record or create a new Equipment record. The correct Equipment record would be selected or created at a later stage.
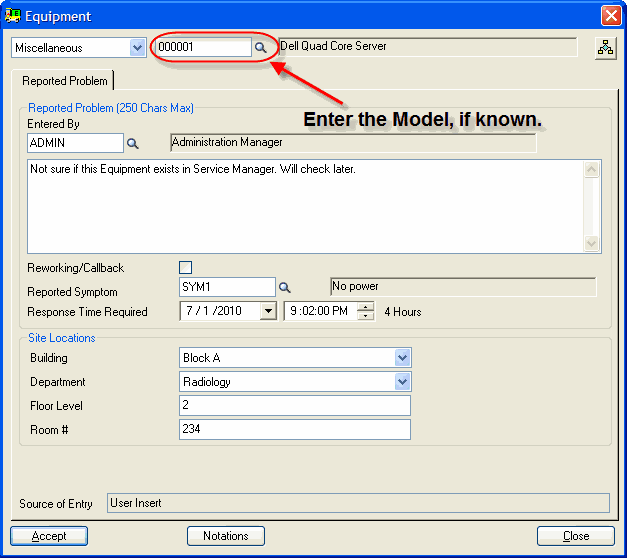
It is possible to specify a Model number when entering a Miscellaneous Equipment record in Document Entry. This is purely a documentary facility, but can aid when you wish to migrate the Miscellaneous entry to a live Equipment record.
Multi Select Equipment
With Multi Select Equipment, you can browse the entire Equipment list for the client Site. You can also filter the list by Site Location, Model, Agreement, or Equipment ID.
Display Meters - Tick this check box to display Meters as a child node of the Equipment.
Only Show Equipment with Meters - Tick this check box to only show Equipment with Meters.
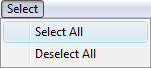
Tick the check box of each piece of Equipment and/or each Meter that you wish to add to the Phase. To select/deselect all entries in the tree, select Select All or Deselect All, as required, from the Select menu.
Note: Ticking or clearing a parent node will tick/clear all child nodes of that parent.
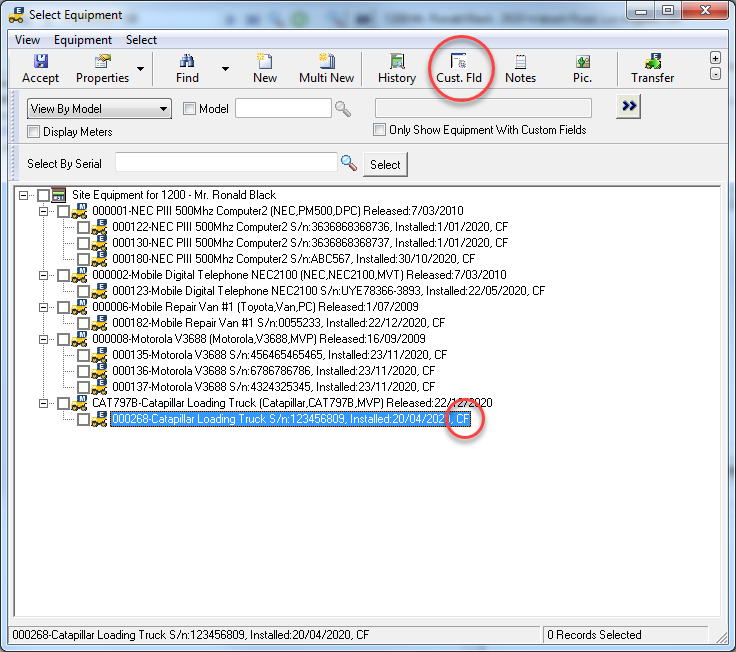
Note: CF is added to the Equipment node if that Equipment has the Use Custom Fields option set.
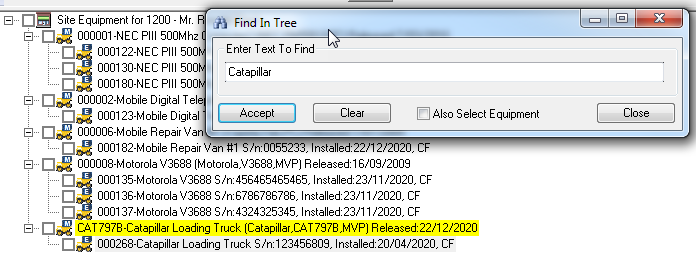
![]() - Find text in the tree. The nodes containing the text will be highlighted. Tick the Also Select Equipment check box to also select the highlighted nodes if they are Equipment nodes.
- Find text in the tree. The nodes containing the text will be highlighted. Tick the Also Select Equipment check box to also select the highlighted nodes if they are Equipment nodes.
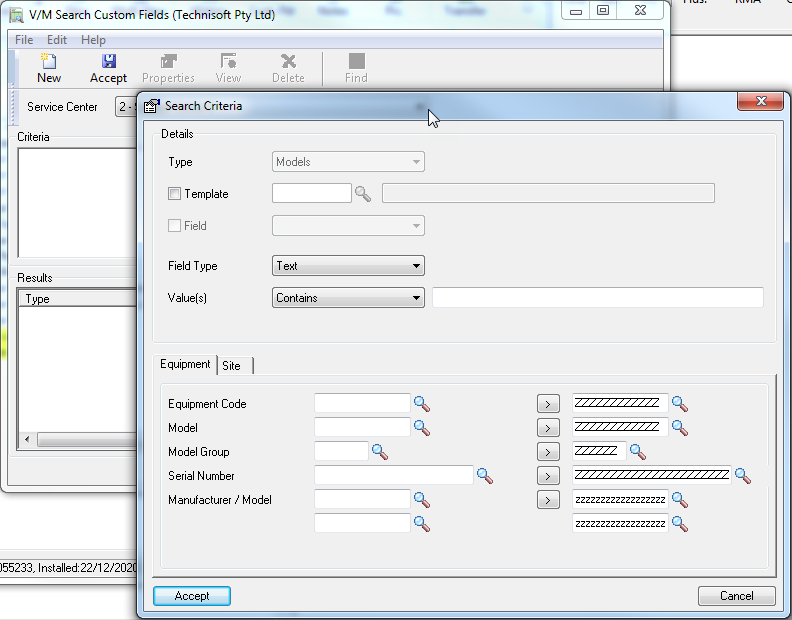
![]() drop-down arrow - Perform a Custom Fields Search
drop-down arrow - Perform a Custom Fields Search
![]() - Create a new Equipment record.
- Create a new Equipment record.
![]() - Create multiple new Equipment records.
- Create multiple new Equipment records.
![]() - View Equipment History.
- View Equipment History.
![]() - Edit the Custom Fields for the Equipment.
- Edit the Custom Fields for the Equipment.
![]() - View notations associated with the Equipment.
- View notations associated with the Equipment.
![]() - View the picture associated with the Equipment.
- View the picture associated with the Equipment.
![]() - Transfer multiple Equipment to different Sites.
- Transfer multiple Equipment to different Sites.
View » Auto Load - Auto loading of the records when the form is loaded, is optional. Auto Load can be toggled off and on. If it is off, you must action the load manually. This gives you the ability to set criteria and grouping values before loading. These settings are retained when the form closes.
Manage/Add Equipment
This provides a quick method of adding and removing Equipment from a Job. It also provides a quick overview of all Equipment on the Job.
Adding Equipment

Add Equipment to the currently selected Phase.
Select a Model, enter a Serial Number and then click [Add]. Repeat this for each piece of Equipment.
Select a Parent Equipment record if the Equipment being added are Components of the Parent.
Click [Accept] to add all the Equipment to the Phase.
Viewing/Removing Equipment

The Remove Equipment tab shows all Equipment on the Job. To remove Equipment from a Job, tick the check box next to each Equipment line to remove.
Tick the Deactivate Equipment at Site check box to deactivate the Equipment being removed from the Job.
 Insert Equipment Fault
Refer Registering an Equipment Fault.
Related Topics
 Insert Billing Group Line
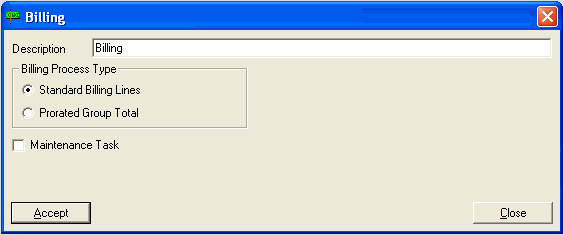
A Billing Group line can only be added to a Phase. Once you have created a Billing Group line you may add Services and Items to the line.
Click Bill. The Billing window will be displayed.
Related Topics
 Insert Service Line
Click Serv. to add a Service - Standard, Labor or Subcontractor - to a Billing line.
Note: A Service line can only be added to a Billing line.
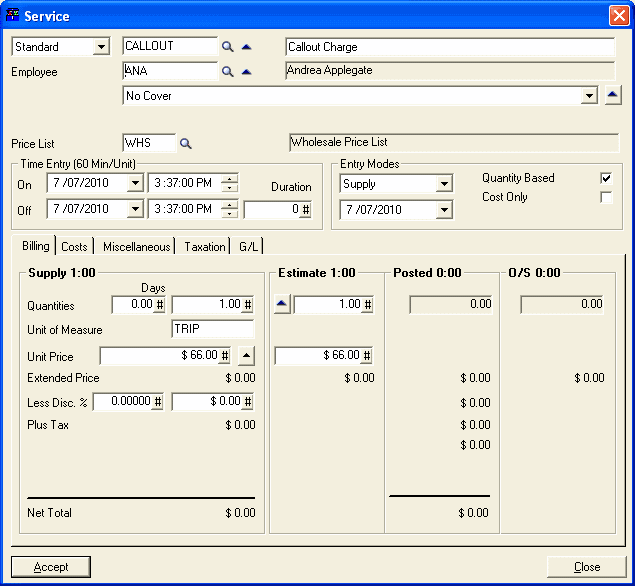
Type or select the Service item required, e.g., Callout Charge.
Assigned Employee, Price List, Time Entry, Entry Modes, Billing, Costs, Miscellaneous, Taxation and G/L details are all available from this form.
Click [Accept] to add the Service to the Billing Group line.
Related Topics
 Insert Item Line
Click Item to add an Inventory Item to a Billing line.
Note: An Item line can only be added to a Billing line.
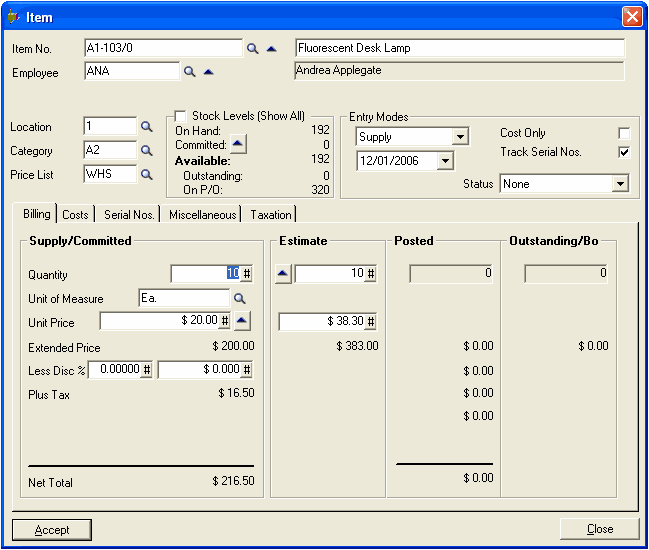
Type or select the Item No. Item details and financials are displayed. Enter the item Quantity required.
Click [Accept] to add the Item to the Billing Group line.
Related Topics
 Insert Billing Lines by Script
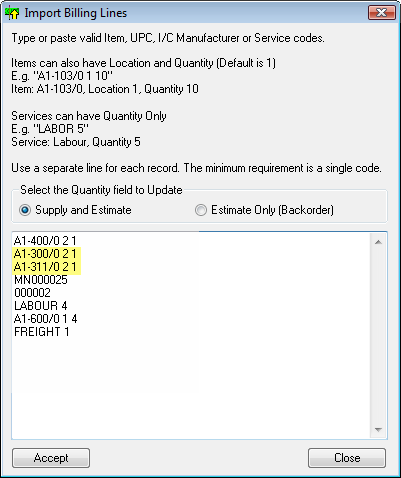
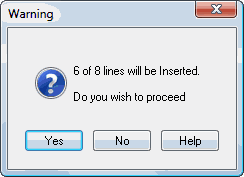
Click Imp. to quickly insert a batch of Service and/or Item lines into a Billing Group. Using a text box for input, type or paste valid Item or Service codes, optionally followed by a Location (for Items) and a Quantity. You could copy lines from a spreadsheet, for example, and paste them directly into the text box. Use a separate line for each record and then click [Accept] to add those lines to the Document. I/C Manufacturer Items and Model UPC (bar code) numbers are also acceptable.
The Quantity field can update Supply and Estimate values or Estimate values only.
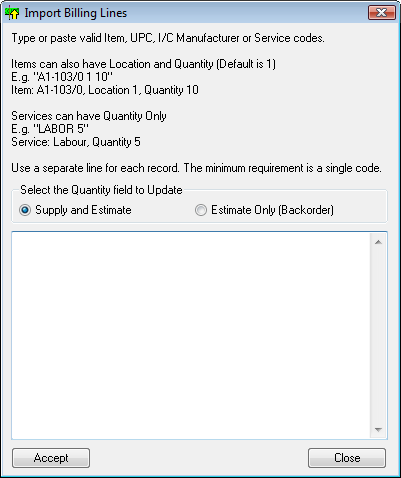
You must specify at least a valid Item or Service code on a line or the line will be ignored.
For Item lines, you can specify the following:
•Just the Item code. In this case, the default Item Location will be used and the Quantity will be one (1).
•The Item code followed by the Location. The Quantity will be one (1).
•The Item code followed by the Location followed by the Quantity.
For Service lines, you can specify the following:
•Just the Service code. In this case, the Quantity will be one (1).
•The Service code followed by the Quantity.
The system checks lines as follows:
1.Is the code an Item?
2.If not, check for I/C Manufacturer Item
3.If not, check for Model UPC (bar code)
4.If not, check for Standard Service
5.If not, check for Labor Service
6.If not, check for Subcontractor Service.
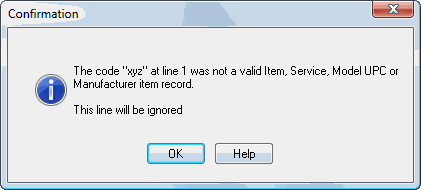
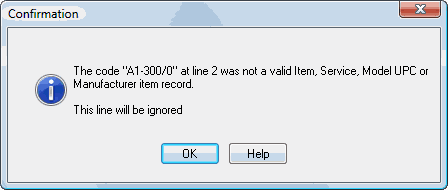
If none of these are found, a message will pop up stating that the code is invalid and that the line will be ignored.
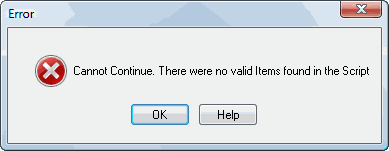
When you click [Accept] to add the lines to the Billing Group, if there are no valid lines, an Error will be displayed.
Example
Note: Fields on each line must be delimited by a space character.
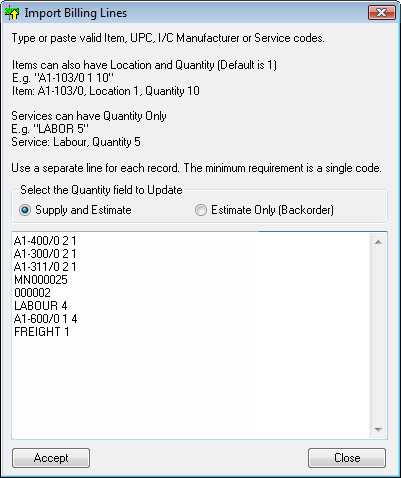
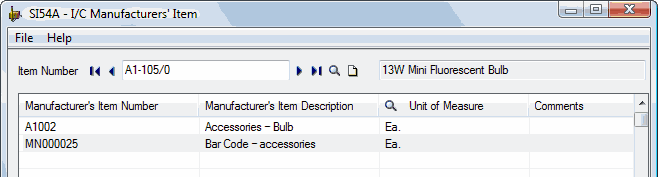
MN000025 is an I/C Manufacturer Item Number.
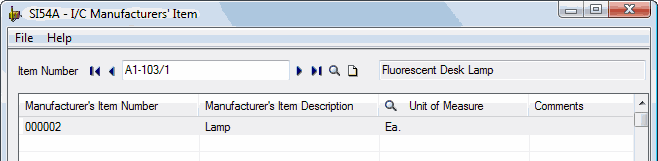
000002 is a Model UPC Number.
In this example, the code in the second and third lines was not found.

Related Topics
 Insert Task
Refer Task Setup and Billing Groups » Task Billing Group.
 Load Billing Group from Template
Billing Templates consist of predefined Billing Groups. Billing Templates could be created for each Employee, for example, and save data entry time and reduce data entry errors.
Click Temp. to load predefined Billing Groups from a Billing Template.
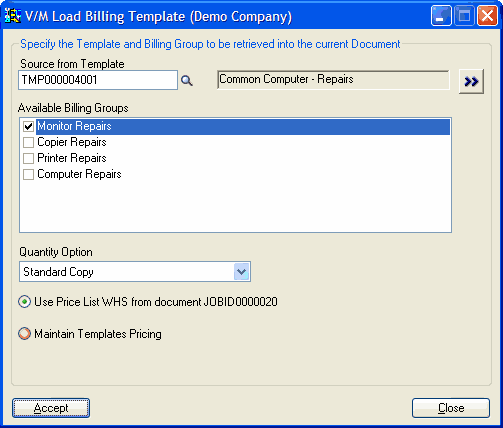
Available Billing Groups
Tick the check box of each Billing Group required.
Quantity Option

Click [Accept]. The Billing Group(s) selected will be inserted into the tree. This is a very useful tool when fixed or kit type Services and Items are provided. Templates save time and increase productivity.
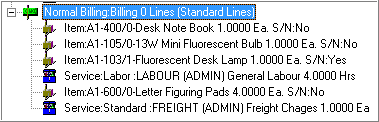
The example below shows the Billing Group named Monitor Repairs that was selected from the Template. This predefined Billing Group contains a Notation, Service and an Item line.

 Insert Notation for Current Line
Refer Notations.
 Insert Time Entry for Current Phase
Refer Creating Time Entries.
 Launch Time Recorder
Refer Recording Time Using the Time Recorder.
 New Purchase Requisition
Note:
This option will only be displayed if the Service Manager Purchase Orders Add-On is installed.
 View Custom Fields
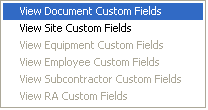
View and maintain Custom Fields.
Click the arrow ![]() to the right of the Flds. icon and then select the required item.
to the right of the Flds. icon and then select the required item.
Refer Custom Field Setup.
 View Graphics for Site or Equipment
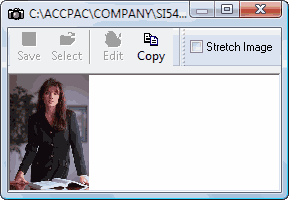
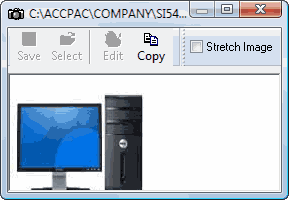
Click Pic. to display images stored within the system for Site Contacts and Equipment. This fast icon will appear only if the Document Header (for Site Contacts) or an Equipment node is selected. The image will be displayed in a separate popup window.
 View History for Site or Equipment
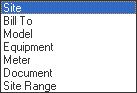
Click Hist. to display the Service Manager History Report for any of:
This fast icon will appear only if the Document Header or an Equipment node is selected.

Enter the required criteria, in particular the Audit Types, and then click ![]() . The resulting report will be generated in the right hand pane.
. The resulting report will be generated in the right hand pane.
To view the report full screen, click ![]() . To return to the split screen view, click
. To return to the split screen view, click ![]() again.
again.
Equipment History From Search Form
The Search window in Document Entry has a [History] button. When starting a new Job using the Document Entry ![]() icon, select an Equipment record.
icon, select an Equipment record.
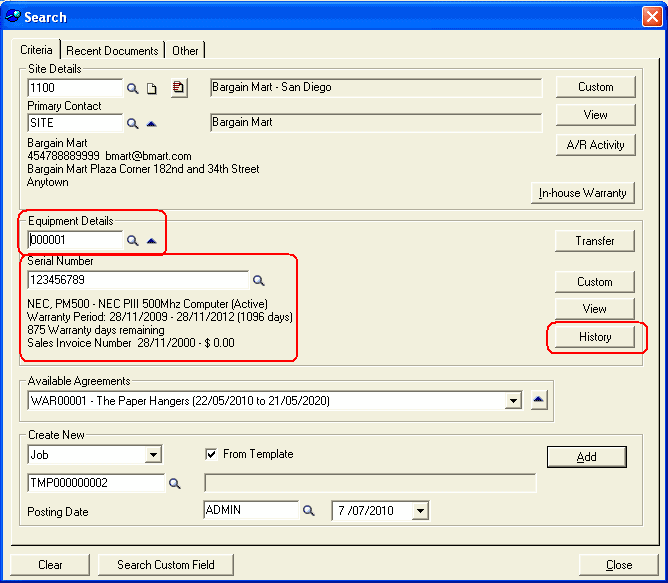
Click [History] to display the History window and run the Service Manager History Report.
You can also run the History program from the Service Manager desktop. Refer Statistics and History Programs » History.
 Return Authorization for Equipment
Click the arrow ![]() to the right of the RMA icon and then select Add to Vendor Return Authorization or Add to Customer Authorization as required.
to the right of the RMA icon and then select Add to Vendor Return Authorization or Add to Customer Authorization as required.
![]()
Refer Return Authorizations (RAs).
 View Site Contacts
Click Cont. to display Site Contacts.
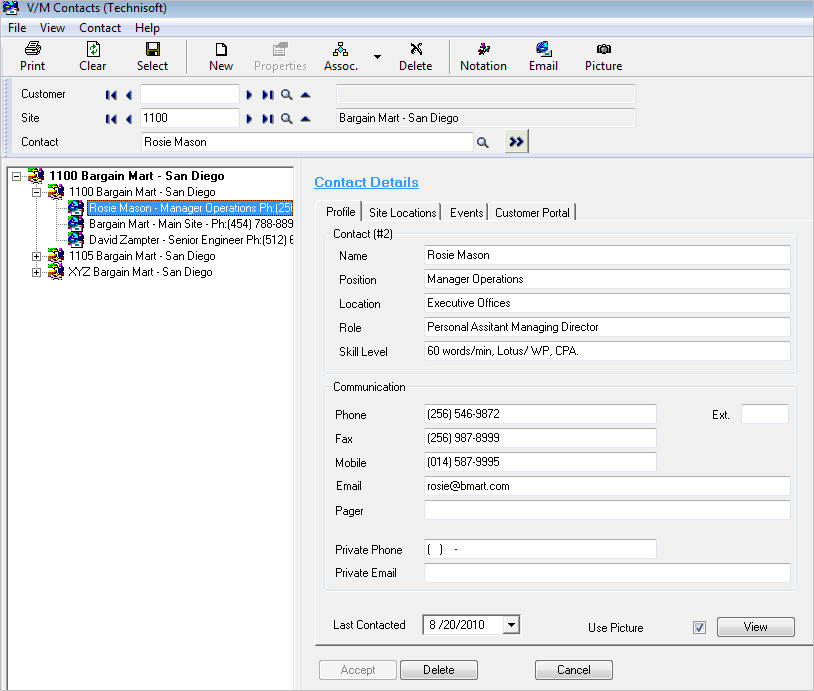
Select a different Site Contact or change contact details if required.
Refer Site Contacts for additional information about managing Site Contacts.
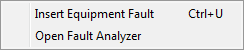
 Insert Faults
Click the arrow ![]() to the right of the Fault icon and then select Insert Equipment Fault or Open Fault Analyzer as required.
to the right of the Fault icon and then select Insert Equipment Fault or Open Fault Analyzer as required.
Related Topics